Project Description: Automatic Food Feeder and Water Dispenser with Arduino
This project involves creating an Automatic Food Feeder and Water Dispenser using an Arduino microcontroller, an LCD 16x2 display, two micro servo motors, a 10kΩ potentiometer, and a WPC (Wood-Plastic Composite) holder. The aim is to ensure pets have consistent access to food and water through an automated, user-friendly, and aesthetically pleasing device.
Components
1. Arduino Microcontroller: Serves as the central control unit, managing inputs from the potentiometer and controlling the servo motors
..jpg)
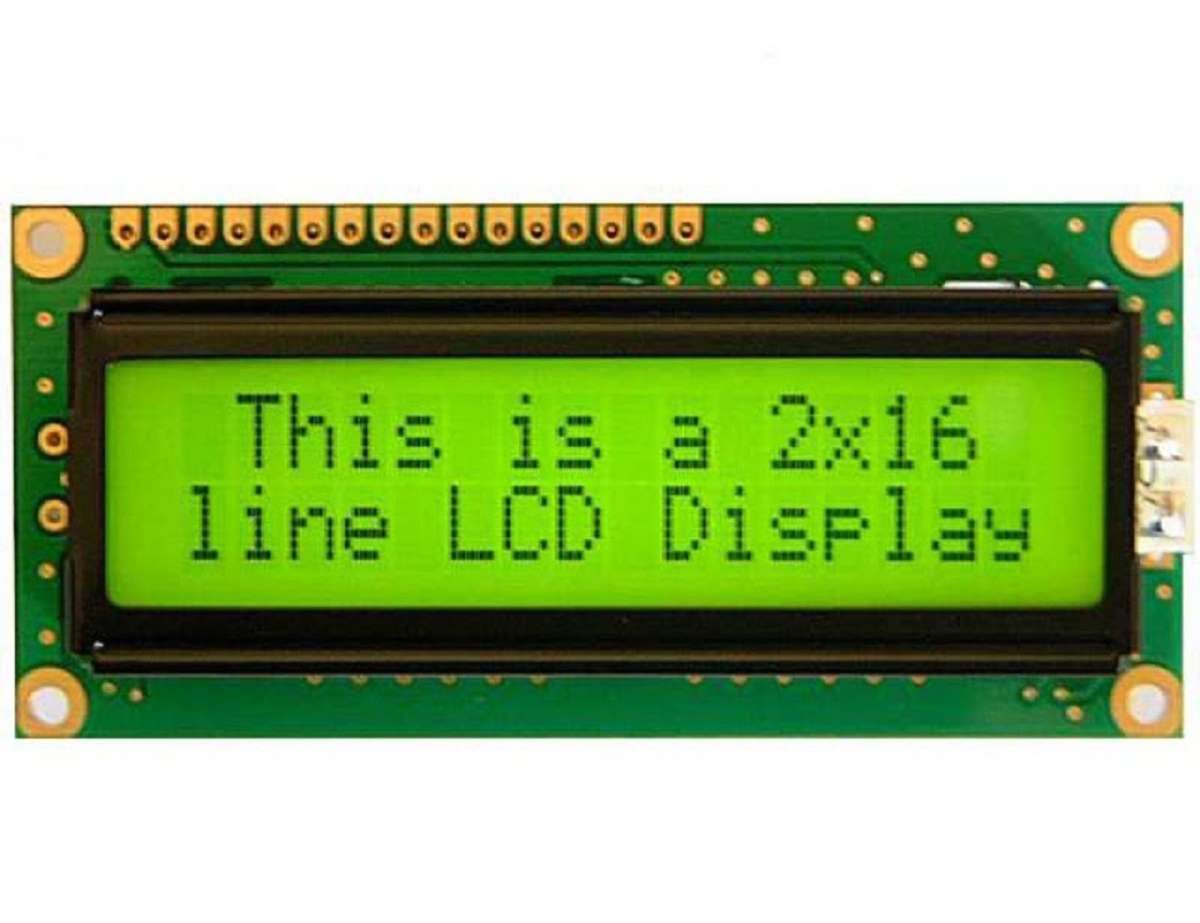
2. LCD 16x2 Display: Displays the current time, feeding schedule, and status of the device.
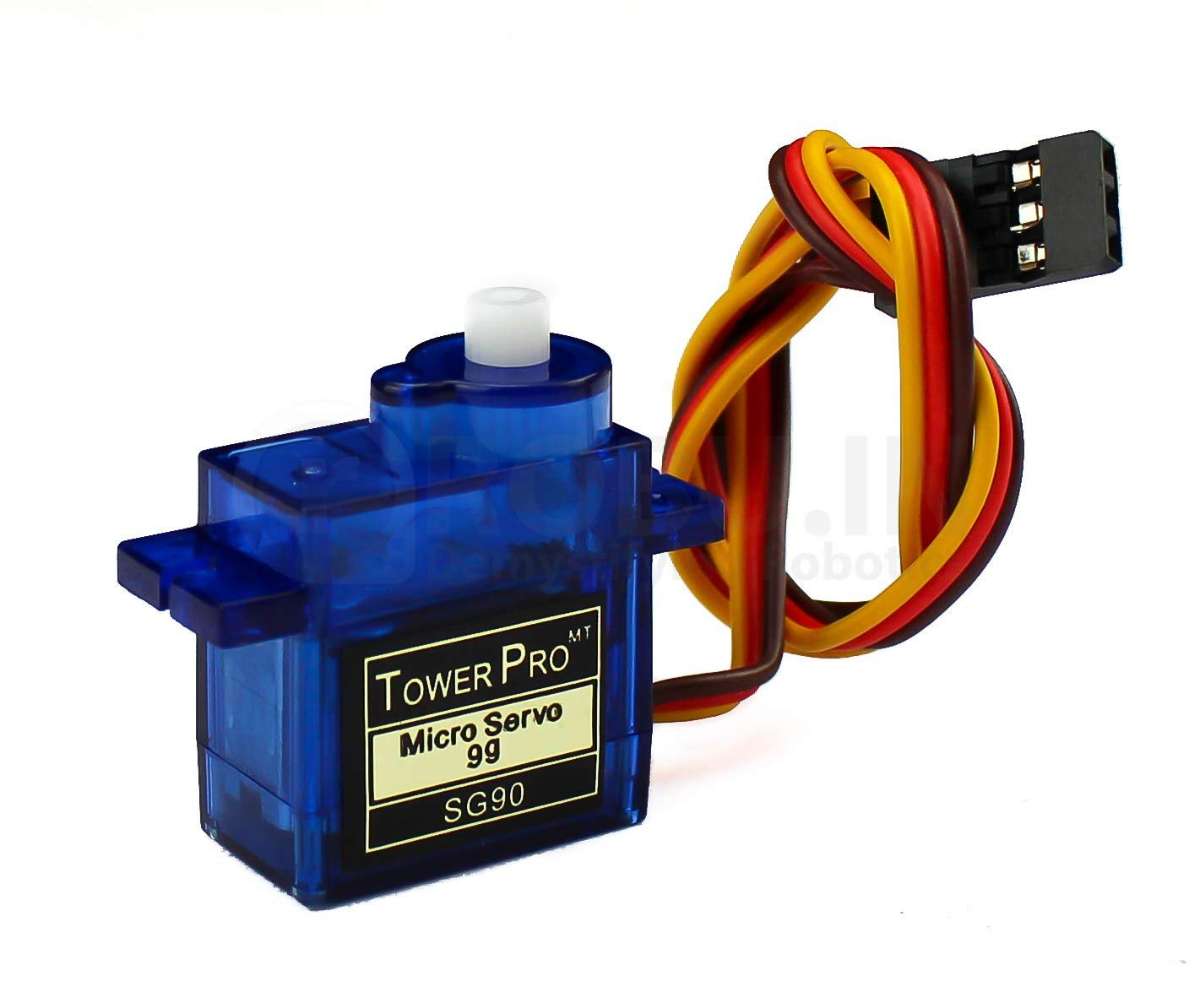
3. Two Micro Servo Motors: One for controlling the food dispenser mechanism and the other for the water dispenser.
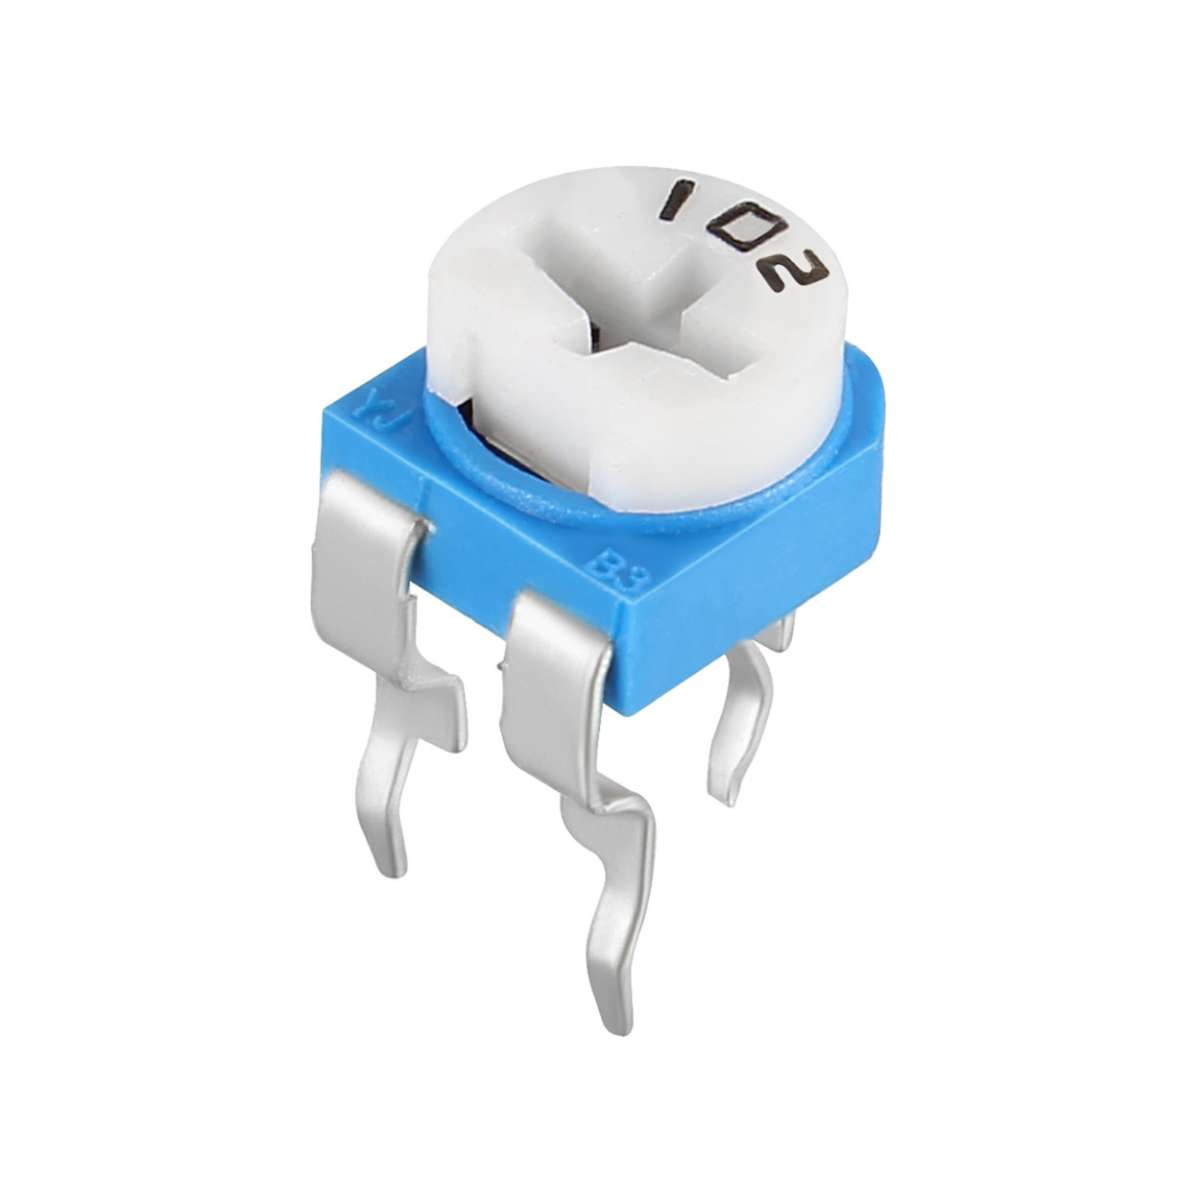
4. 10kΩ Potentiometer: Used to set and adjust feeding times and portion sizes.
5. WPC Wood Holder: Provides a sturdy and attractive housing for the entire system, ensuring stability and durability.
6.Arduino Microcontroller: Acts as the control unit, programmed via the Arduino IDE to manage inputs and control outputs.

FUNCTIONALITY
- Scheduling and Portion Control: The potentiometer allows users to set feeding times and portion sizes. The Arduino processes these inputs and activates the servo motors accordingly.
- Dispensing Mechanism: The first servo motor is connected to the food container, rotating to release a specific amount of food into the pet's bowl. The second servo motor controls the water valve, ensuring the water bowl is refilled when necessary.
- Display and Feedback: The LCD 16x2 screen provides real-time feedback, showing the current time, next scheduled feeding, and any adjustments made via the potentiometer.
- Holder Design: The WPC wood holder houses all components, offering a robust and eco-friendly enclosure that blends well with home decor.
Construction
Materials Needed
1. Arduino Uno or any compatible microcontroller.
2. LCD 16x2 Display.
3. Two Micro Servo Motors.
4. 10kΩ Potentiometer.
5. WPC (Wood-Plastic Composite) Holder.
6. Breadboard and Jumper Wires.
7. External Power Supply (for Arduino and servos if needed).
8. Containers for food and water.
9. Miscellaneous Hardware (screws, nuts, etc.).
Tools Needed
- Soldering Iron.
- Screwdriver.
- Drill (for making holes in the WPC holder if necessary).
- Hot Glue Gun or other adhesives.
- Wire Cutters and Strippers.
Step-by-Step Instructions
1. Design and Build the Holder:
- Cut the WPC wood to create a stable base and housing for the components.
- Drill holes for mounting the Arduino, servos, potentiometer, and LCD display.
- Assemble the holder using screws or adhesives, ensuring it is sturdy.
2. Mount the Components:
- Secure the Arduino, LCD display, and potentiometer to the WPC holder.
- Attach the servo motors to the food and water containers. Ensure the servos can rotate freely to dispense food and water.
3. Connect the Components:
- LCD Display:
- Connect the LCD to the Arduino using the following pin configuration:
- RS to Arduino pin 7
- EN to Arduino pin 8
- D4 to Arduino pin 4
- D5 to Arduino pin 5
- D6 to Arduino pin 6
- D7 to Arduino pin 3
- Servo Motors:
- Connect the first servo motor (food) to Arduino pin 9.
- Connect the second servo motor (water) to Arduino pin 10.
- Potentiometer:
- Connect the middle pin of the potentiometer to Arduino analog pin A0.
- Connect the other two pins to 5V and GND on the Arduino.
4. Wiring:
- Connect the 5V and GND pins on the Arduino to the breadboard to distribute power.
- Connect the servos' power (VCC) to the 5V rail and ground (GND) to the ground rail on the breadboard.
- Ensure all connections are secure.

5. Programming the Arduino:
- Open the Arduino IDE on your computer.
- Write or paste the provided code into the IDE.
- Upload the code to the Arduino.
Code
#include <Servo.h>
#include <LiquidCrystal.h>

// Create Servo objects
Servo foodServo;
Servo waterServo;

// Pins for servos
const int foodServoPin = 9;
const int waterServoPin = 10;

// Positions for servos
const int foodOpenPosition = 90; // Adjust to open food dispenser
const int foodClosePosition = 0; // Adjust to close food dispenser
const int waterOpenPosition = 90; // Adjust to open water dispenser
const int waterClosePosition = 0; // Adjust to close water dispenser

// Feeding and watering intervals (30 seconds)
const unsigned long feedingInterval = 1 * 30 * 1000UL;
const unsigned long wateringInterval = 1 * 30 * 1000UL;

// Timing variables
unsigned long previousFeedingMillis = 0;
unsigned long previousWateringMillis = 0;

// Initialize the library by associating any needed LCD interface pin
const int rs = 7, en = 8, d4 = 5, d5 = 4, d6 = 3, d7 = 2;
LiquidCrystal lcd(rs, en, d4, d5, d6, d7);

void setup() {
  // Initialize the LCD and specify the dimensions (columns and rows)
  lcd.begin(16, 2);

  // Print a message to the LCD
  lcd.print("Pet Feeder");

  // Attach servos
  foodServo.attach(foodServoPin);
  foodServo.write(foodClosePosition); // Ensure the food dispenser is closed initially

  waterServo.attach(waterServoPin);
  waterServo.write(waterClosePosition); // Ensure the water dispenser is closed initially

  // Wait for a while to show the initial message
  delay(2000);
  lcd.clear();
}

void loop() {
  unsigned long currentMillis = millis();

  // Check if it's time to feed the dog
  if (currentMillis - previousFeedingMillis >= feedingInterval) {
    previousFeedingMillis = currentMillis;
    feedDog();
  }

  // Check if it's time to water the dog
  if (currentMillis - previousWateringMillis >= wateringInterval) {
    previousWateringMillis = currentMillis;
    waterDog();
  }
}

void feedDog() {
  lcd.clear();
  lcd.setCursor(0, 0);
  lcd.print("Feeding the dog");

  foodServo.write(foodOpenPosition);
  delay(500); // Keep the feeder open for 5 seconds
  foodServo.write(foodClosePosition);

  delay(2000); // Wait for a while before clearing the message
  lcd.clear();
}

void waterDog() {
  lcd.clear();
  lcd.setCursor(0, 0);
  lcd.print("Watering the dog");

  waterServo.write(waterOpenPosition);
  delay(5000); // Keep the water dispenser open for 5 seconds
  waterServo.write(waterClosePosition);

  delay(2000); // Wait for a while before clearing the message
  lcd.clear();
}
6. Testing and Calibration:
- Power on the system and observe the LCD display for correct information.
- Adjust the potentiometer to set the feeding times and portion sizes.
- Verify that the servo motors dispense food and water correctly at the scheduled times.
- Make any necessary adjustments to the code or hardware setup.
7. Final Assembly:
- Ensure all components are securely attached and wires are neatly organized.
- Place the food and water containers in their designated spots.
- Test the entire system to confirm it works as expected.
By following these steps, you will build a functional and aesthetically pleasing Automatic Food Feeder and Water Dispenser that reliably takes care of your pet's feeding and hydration needs.
How it works
Benefits
- Automation: Reduces the need for manual feeding, ensuring pets are fed on time with precise portions.
- User-Friendly Interface: The potentiometer and LCD display make it easy to set and monitor the device.
- Reliability: Ensures pets have a consistent supply of food and water, improving their overall well-being.
- Aesthetic and Durable: The WPC wood holder not only provides stability but also adds a touch of elegance to the device, making it a stylish addition to any home.
This project combines essential components and simple programming with a stylish and durable WPC wood holder to create a reliable, user-friendly, and aesthetically pleasing automatic feeding system, enhancing both the convenience and appearance of pet care.