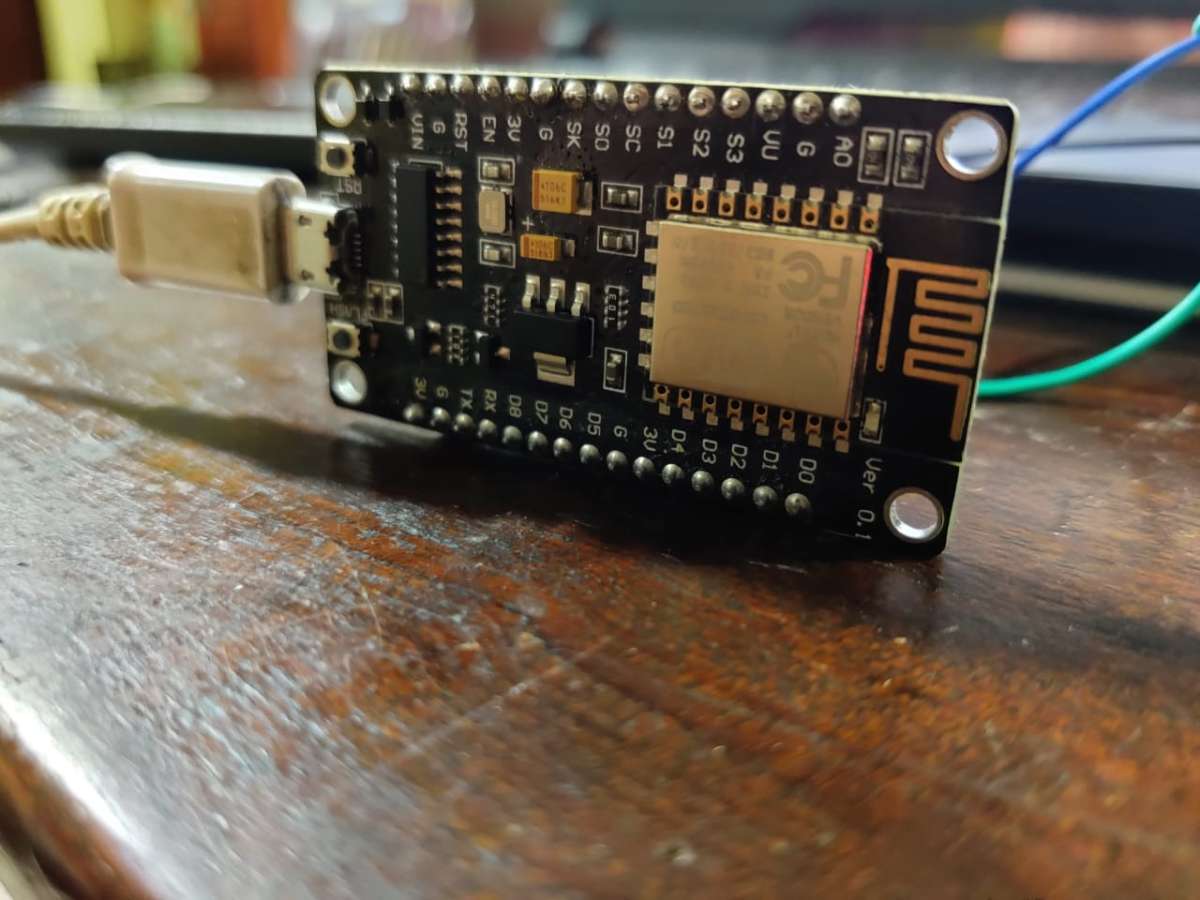
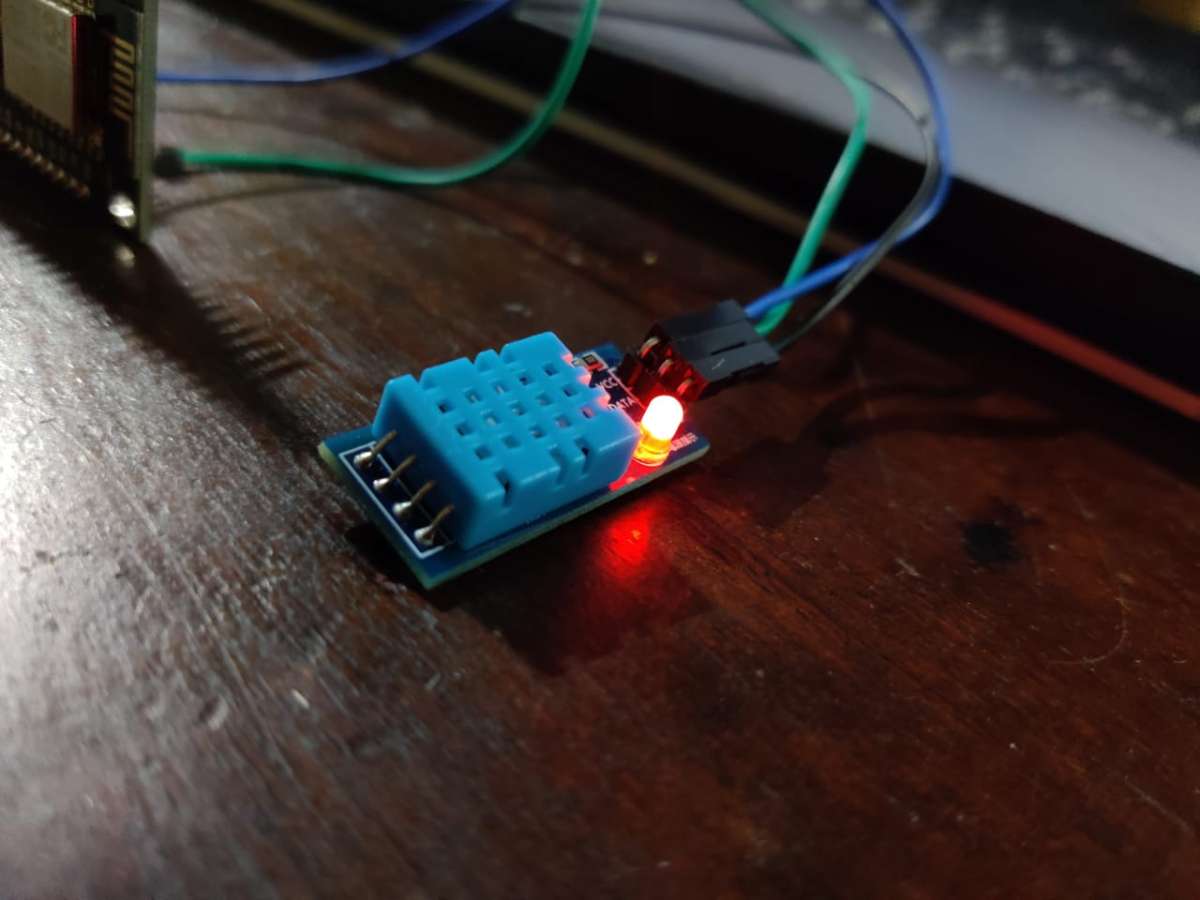
The weather station project uses an esp8266 Nodemcu microcontroller board and a DHT11 temperature and relative humidity sensor module. The microcontroller receives the data from the DHT11 sensor and acts as a bridge in sending the data to the Thingspeak website, which I have used to plot the temperature and relative humidity as a graph and also on a gauge.
.png)
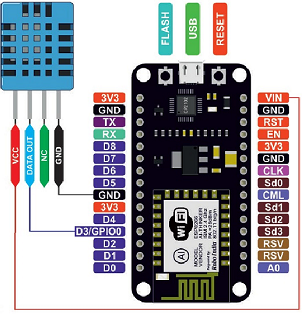
The connections are easy as well. The wires go as follows:
- The VCC pin of DHT11 goes to the 3V pin of the Nodemcu.
- The GND pin of DHT11 goes to the GND pin of Nodemcu.
- The data pin goes to GPIO0 (D3) of NVisualizationodemcu.

The connections are done. Connect the microcontroller to the laptop or PC and then the microcontroller is programmed.
The DHT11 sensor gives the relative humidity and temperature data. The Nodemcu is programmed using the Arduino IDE so as to receive the data. Then the Nodemcu uses the HTTP POST request method to communicate with the Thingspeak website. The Thingspeak account has unique API keys which is used to communicate with the website.
.png)
The HyperText Transfer Protocol acts works as a request-response protocol between the client and the server. Understanding how the HTTP protocol can be programmed will be very helpful in building the project. Generally, when using esp8266 Nodemcu board:
- The esp8266 Nodemcu acts as the client and submits an HTTP request to the server. In this project, the server corresponds to the Thingspeak website.
- The server returns a response to the client.
- finally, the response will contain the status information about the request and also might contain the content. Here the result is the graphs we see on Thingspeak.
The code has been added to the upcoming page.


