.png)
Introduction:
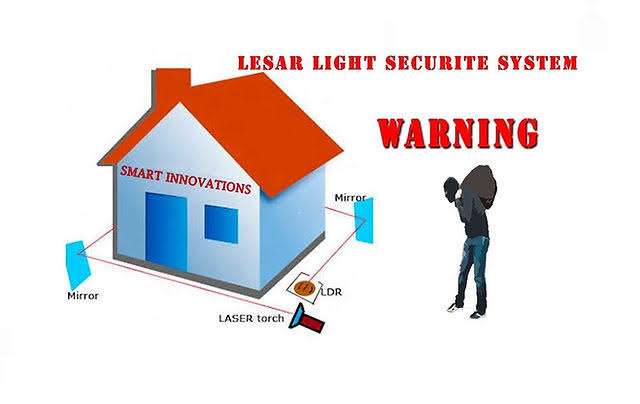
Imagine you want to secure a HOME or OFFICE or protect valuables in your home or office. A laser security system offers a reliable solution by detecting intrusions using a laser beam and an LDR (Light Dependent Resistor). This project aims to create a simple yet effective laser security system that alerts you when the laser beam is interrupted.
Project Goal:
The goal is to build a laser security system that:
- Emits a laser beam across a doorway or entry point or around the house.
- Uses an LDR to detect changes in light intensity caused by an object interrupting the laser beam.
- Triggers an alarm (buzzer or LED) when an intrusion is detected.
- Provides a visual and audible indication of an attempted breach.
Step-by-Step Build Guide:
Step 1: Circuit Assembly:
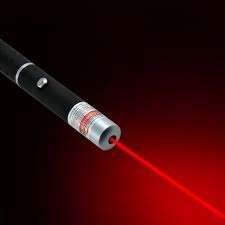
Connect the Laser Module:
.jpeg)
- Power the laser module with 5V from the Arduino.
- Connect the laser module's output to a suitable position on the breadboard.
Connect the LDR and Resistor:
- Create a voltage divider circuit using the LDR and a 10kΩ resistor.
- Connect one end of the LDR to 5V and the other end to ground through the resistor.
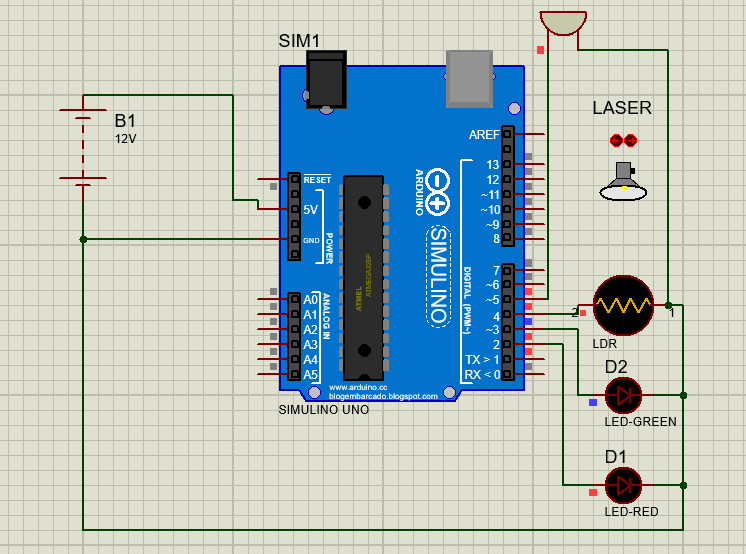
- Connect the junction between the LDR and resistor to an analog input pin (e.g., 4) on the Arduino.
.jpeg)
Connect the Buzzer:
- Connect the positive terminal of the buzzer to a digital output pin (e.g., 5) on the Arduino.
- Connect the negative terminal of the buzzer to ground.
Circuit Connections
CODE:
//Created BY AG(GANIREDDY

int Laser = 1;
int Ldr = 4;
int buzzer = 5;
int led1 = 2;
int led2 = 3;

void setup()
{
    pinMode(Laser,OUTPUT);
    pinMode(Ldr,INPUT);
    pinMode(buzzer,OUTPUT);
    pinMode(led1,OUTPUT);
    pinMode(led2,OUTPUT);
}

 void loop()
{ digitalWrite(1,HIGH);

  if(digitalRead(Ldr)==LOW)
 {
  digitalWrite(5,LOW);
  digitalWrite(2,LOW);
  digitalWrite(3,HIGH);
 }
else
{
  digitalWrite(5,HIGH);
  digitalWrite(2,HIGH);
  digitalWrite(3,LOW);
}
}
Step 2: Testing and Calibration
- Upload the Code: Upload the Arduino code to the Arduino board.
- Align the Laser: Position the laser module and LDR so that the laser beam falls directly on the LDR when undisturbed and keep the mirrors for multiple reflection as required.
- Test the System: Observe the behaviour of the buzzer when interrupting the laser beam. The buzzer should activate when the beam is blocked.
Step 3: Final Assembly
- Mounting: Secure the components on a sturdy base or enclosure.
- Installation: Install the laser security system near the entry point you want to monitor.
- Calibration: Fine-tune the threshold value in the Arduino code to minimize false alarms based on ambient light conditions.
Demonstration Video:
Here is a video demonstrating the functionality of the laser security system:
Conclusion:
- The project to create a low-cost laser security system using an LDR and Arduino has proven to be a rewarding endeavour, offering a practical solution for basic security needs. By leveraging simple components and Arduino's versatility, we've successfully designed a system that detects intrusions by monitoring interruptions in a laser beam. Here are the key takeaways and conclusions from this project:
- Affordability and Accessibility: The use of readily available components such as Arduino Uno, LDR, laser module, mirrors for multiple reflection ,LED and a buzzer ensures that this security system remains accessible to hobbyists, students, and DIY enthusiasts on a budget.
- Effectiveness: Despite its simplicity, the system demonstrates effective functionality in detecting intrusions. The LDR reliably senses changes in light intensity caused by obstacles crossing the laser beam, triggering an immediate alert through the buzzer.