Introduction:
In today’s fast-paced world, the rise in fuel prices in India has led many people to consider electric vehicles (EVs) as a more cost-effective and eco-friendly alternative. This growing demand means more EVs are being produced, and more charging stations are needed. As a result, India is experiencing rapid advancements in EV technology. Many companies, both in India and abroad, are working to improve the EV charging infrastructure. For example, Tata Power, Ather Energy, and Magenta Power are notable companies in India, while Tesla, ChargePoint, and EVgo are key players internationally.
However, a major challenge in India is the limited number of public charging stations. As of March 2023, there were only 6,586 public charging stations in the country. According to a report by the Confederation of Indian Industry (CII), India will need about 1.32 million charging stations by 2030 to meet the demand. To address this, a new type of affordable slow-charging station has been developed. This station uses a simple and cost-effective design, making it possible to set up many charging stations quickly and cheaply.
Types of Charging Stations:
1. Fast Charging Stations:
- Use DC (Direct Current) charging with power levels ranging from 50 kW to over 350 kW.
- Designed for rapid charging, commonly using CHAdeMO and CCS connectors.
2. Slow/Level 2 Charging Stations:
- Use AC (Alternating Current) charging, typically between 6 kW and 22 kW.
- The Type 2 connector (IEC 62196) is a common standard in India.
Our slow-charging station is designed for budget-conscious users who prefer a more economical overnight charging option.
Our Product:
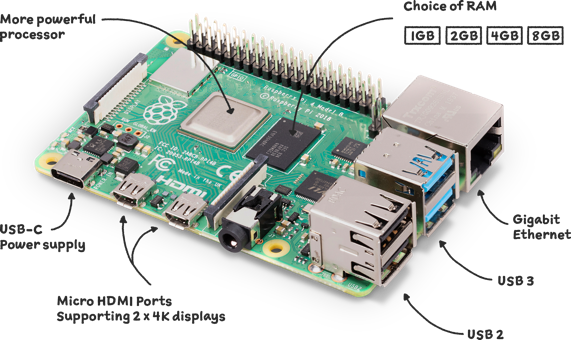
We’ve developed an IoT-based prepaid energy meter system for EV charging. It uses a PZEM module with a Raspberry Pi to monitor power usage accurately. Here’s how it works:
1. Cost Effectiveness: Users pre-pay for energy credits, and the system ensures they only pay for what they use, making it affordable and accessible.
2. Simple Operation: Users can start charging, select plans, and pay securely through a web interface. The system prevents overcharging and ensures efficient use.
3. Adaptiveness: Users can choose different charging plans and monitor their sessions remotely, offering flexibility and convenience.
4. User-Friendly Interface: The web interface provides real-time data on energy usage and costs, helping users manage their charging needs effectively.
Detailed Description:
Background:
Our system combines IoT technology, microcontroller-based systems, and payment gateways to improve EV charging efficiency and accessibility.
Design and Integration:
- PZEM Module: Monitors power usage, current, and voltage levels.
- Raspberry Pi: Acts as the main controller and stores data in a Firebase database. Users can access data through a web interface, select charging plans, and make secure payments via Razorpay. The Raspberry Pi manages power supply, preventing overcharging by disconnecting the station when the allotted energy is used up.
Hardware Components:
1. Raspberry Pi: Main controller for monitoring and controlling the charging process.

2. PZEM-004T Module: Measures electrical parameters like voltage, current, power, and energy consumption.
3. 5V Relay: Controls power supply to the EV charger.
4. MCB (Miniature Circuit Breaker): Provides overcurrent and short circuit protection.
5. HDMI Display(with design): Shows charging status and energy consumption.
Implementation Steps:
1. Power Supply Setup: Install MCB and connect the relay to the Raspberry Pi GPIO pins.
2. PZEM-004T Integration: Connect the PZEM-004T module to the Raspberry Pi.
3. User Interface (HDMI Display): Connect the HDMI display to the Raspberry Pi and develop a software interface for monitoring.
4. Safety Considerations: Ensure proper grounding and insulation.
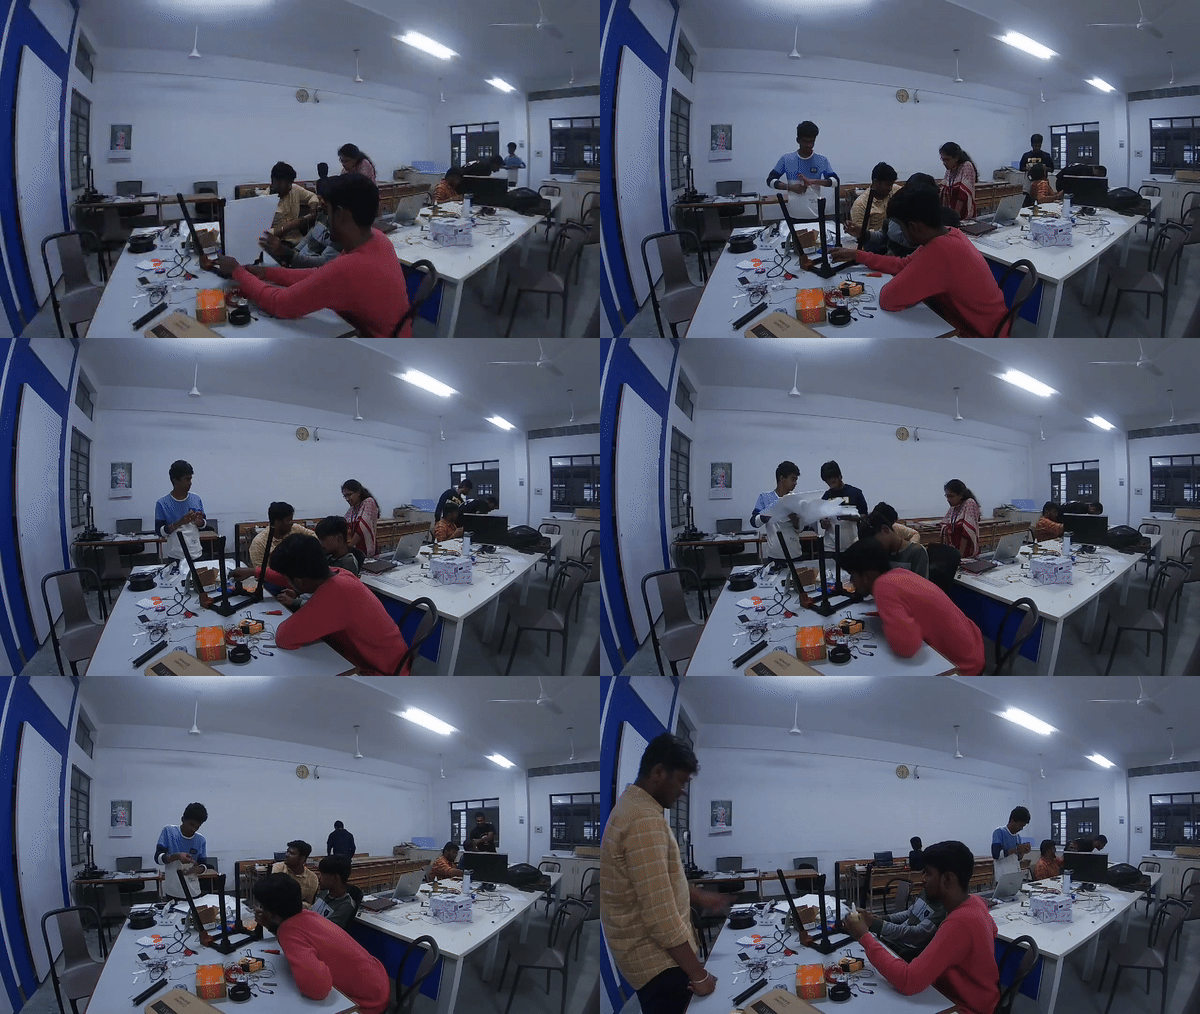
5. Hardware Setup: Used Fusion 360 app to design a 3D model as per our requirements(Mentioned Below in Detail)
6. Cutting of Sheets: Then we used machines to cut the Acrylic sheets as our dimensions required
.gif)
7. Assembling of Sheets: Then we assembled all the acrylic sheets

8. Finishing up the Hardware: Then we painted and did some small jobs to completely finish the hardware setup.
.gif)
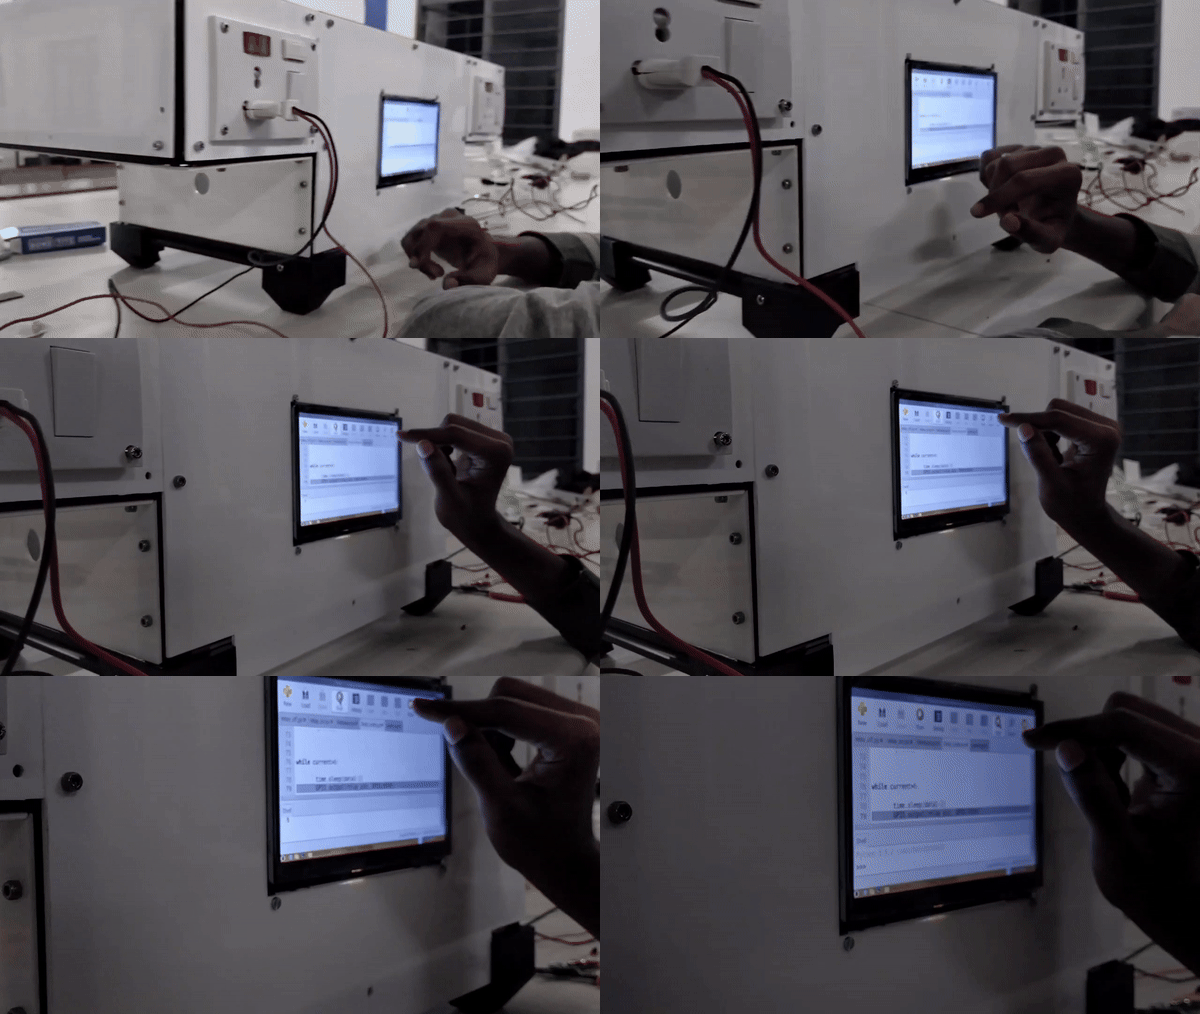
9. Software Implementation: Write scripts for controlling the relay and logging data.
.gif)
Writing Code for Web Page
6. Testing and Calibration: Test the system under different conditions and calibrate the PZEM-004T module if necessary.

Checking Raspberry Pi by giving different inputs
.png)
OUTPUT
Web Interface:
Our website provides an easy-to-use platform for managing EV charging:
- User-Friendly Interface: Simple navigation.
- Real-Time Monitoring: Track charging status and energy consumption.
- Secure Payments: Make payments securely through Razorpay.
- Responsive Design: Access the site from any device.
Database Maintenance
We use Firebase for real-time data management, ensuring smooth operation:
1. Regular Backups: Prevent data loss.
2. Data Integrity Checks: Ensure data accuracy.
3. Security Rules Management: Protect data with access control.
4. Monitoring and Logging: Track database usage and performance.
5. Data Purging and Archiving: Remove outdated data to maintain efficiency.
CAD Designs:
Our project includes detailed CAD designs to ensure precise and efficient construction of the charging station:
First we roughly sketched in many rough papers and finally we developed a tentative sketch in paper. then we used Fusion 360 Software to design it in 3D model. After that we took 3d print and cut the acrylic sheets as our requirements and assembled them orderly and also ensured the strength of the material.

Provisional 3D design(designed in Fusion 360)

Actual Outcome 3D model

3D Model in Black Background
Benefits:
Using CAD designs ensures accuracy, visualization, detailed documentation, and efficient construction. This leads to a reliable and user-friendly EV charging station that meets the growing needs of electric vehicle users.
Our final code:
import time
import serial
import modbus_tk
import modbus_tk.defines as cst
from modbus_tk import modbus_rtu
import RPi.GPIO as GPIO
import pyrebase

current = 0
on_time = 0
relay_pin = 23
serial_port = '/dev/ttyUSB0'  # Replace with the actual USB port your converter is connected to
baud_rate = 9600

# Connect to the USB to TTL converter
serial_connection = serial.Serial(
    port=serial_port,
    baudrate=baud_rate,
    bytesize=8,
    parity='N',
    stopbits=1,
    xonxoff=0
)
master = modbus_rtu.RtuMaster(serial_connection)
master.set_timeout(2.0)
master.set_verbose(True)

# Initialize GPIO
GPIO.setmode(GPIO.BCM)
GPIO.setup(relay_pin, GPIO.OUT)

# Initialize Firebase configuration
firebaseConfig = {
    "apiKey": "AIzaSyB1bZ9lXxpZ6u68L24WYWPvywLAFfN3684",
    "authDomain": "check1-580b7.firebaseapp.com",
    "databaseURL": "https://check1-580b7-default-rtdb.firebaseio.com",
    "projectId": "check1-580b7",
    "storageBucket": "check1-580b7.appspot.com",
    "messagingSenderId": "484459339788",
    "appId": "1:484459339788:web:05db8ce8171a7388d4ce29"
}


firebase = pyrebase.initialize_app(firebaseConfig)

# Get a reference to your Firebase Realtime Database
db = firebase.database()

data_path = "/"  # Set the appropriate data path

while True:
    try:
        # Read data from the USB to TTL converter
        message = [0x01, 0x04, 0x00, 0x00, 0x00, 0x0A]  # Read 10 bytes of data (adjust as needed)
        data = master.execute(1, cst.READ_INPUT_REGISTERS, 0x0000, 10)
        if data:
            current = (data[1] + (data[2] << 8)) / 1000.0  # [A]

        time.sleep(10)

    except Exception as e:
        print(f"Error: {str(e)}")

    try:
        # Retrieve data from Firebase
        on_time = db.child(data_path).get().val()
    except Exception as e:
        print(f"Error: {e}")

    if current > 0:
        GPIO.output(relay_pin, GPIO.HIGH)
        time.sleep(on_time)  # Assuming on_time is in seconds
        GPIO.output(relay_pin, GPIO.LOW)