

Water Sensor :
Procedure to build the circuit :
Step 1: We connect a wire between digital pin 2 of Arduino and the breadboard. Also, connect the ground pin of the Arduino and the breadboard.
Step 2: We then connect one end of the 10k ohm resistor along the same vertical line of the breadboard that is connected to the Arduino and another end to the ground.
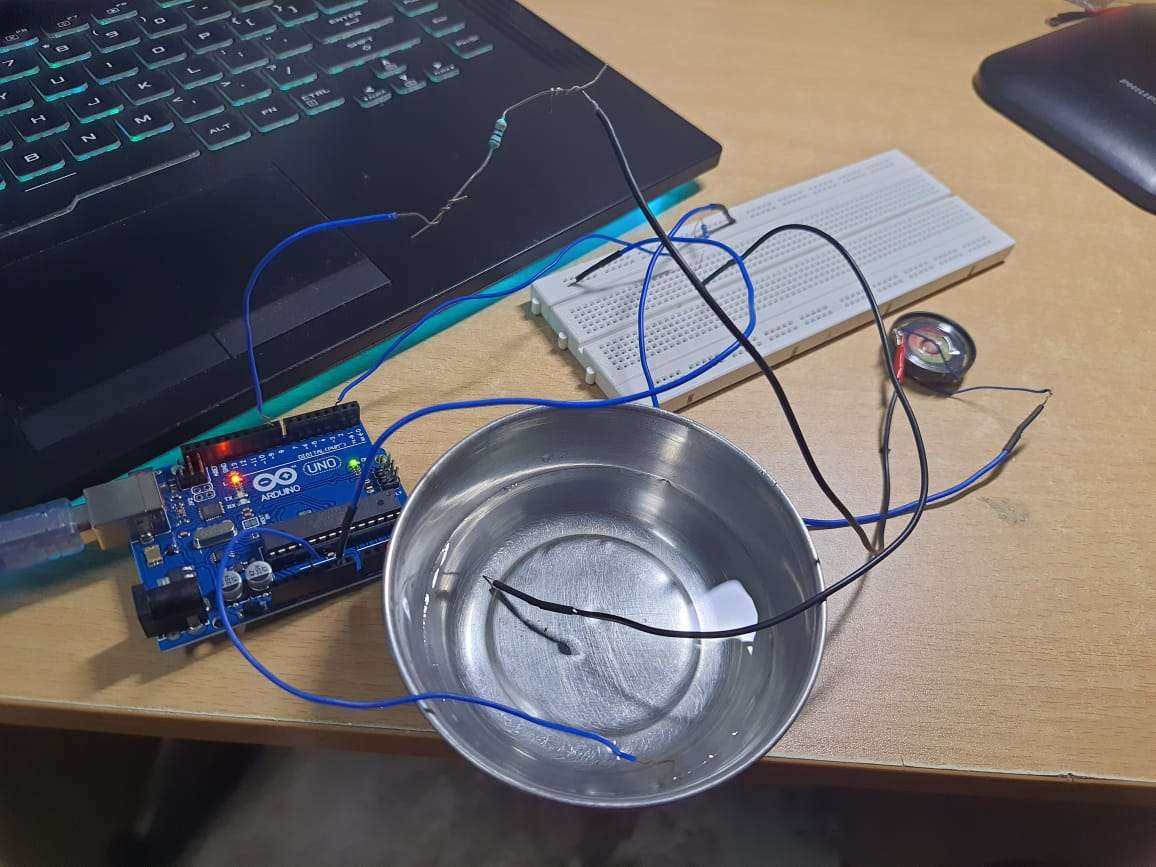
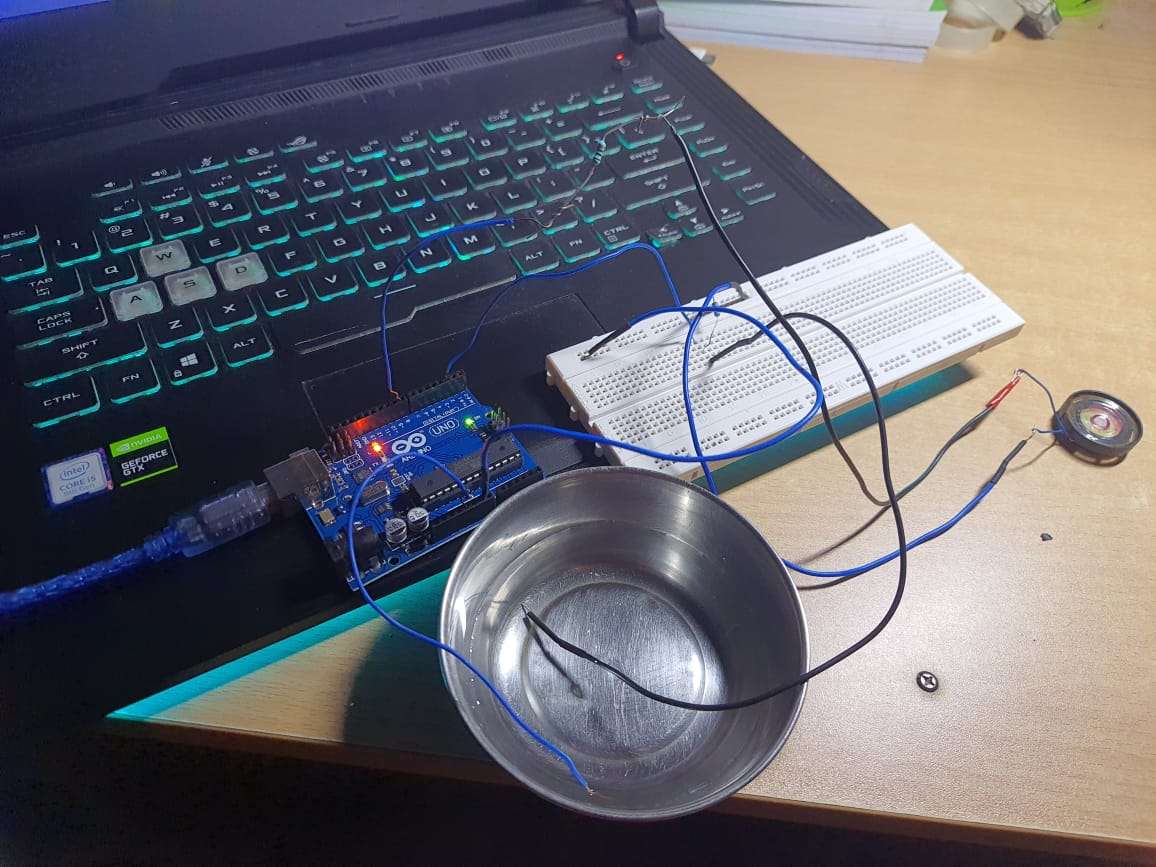
Step 3: Connect one wire between the 5V pin of Arduino and the water source and another wire between pin 2 of Arduino and the water source. When the wires are dipped into the water, the water completes the circuit and the Red LED bulb glows on the Arduino.

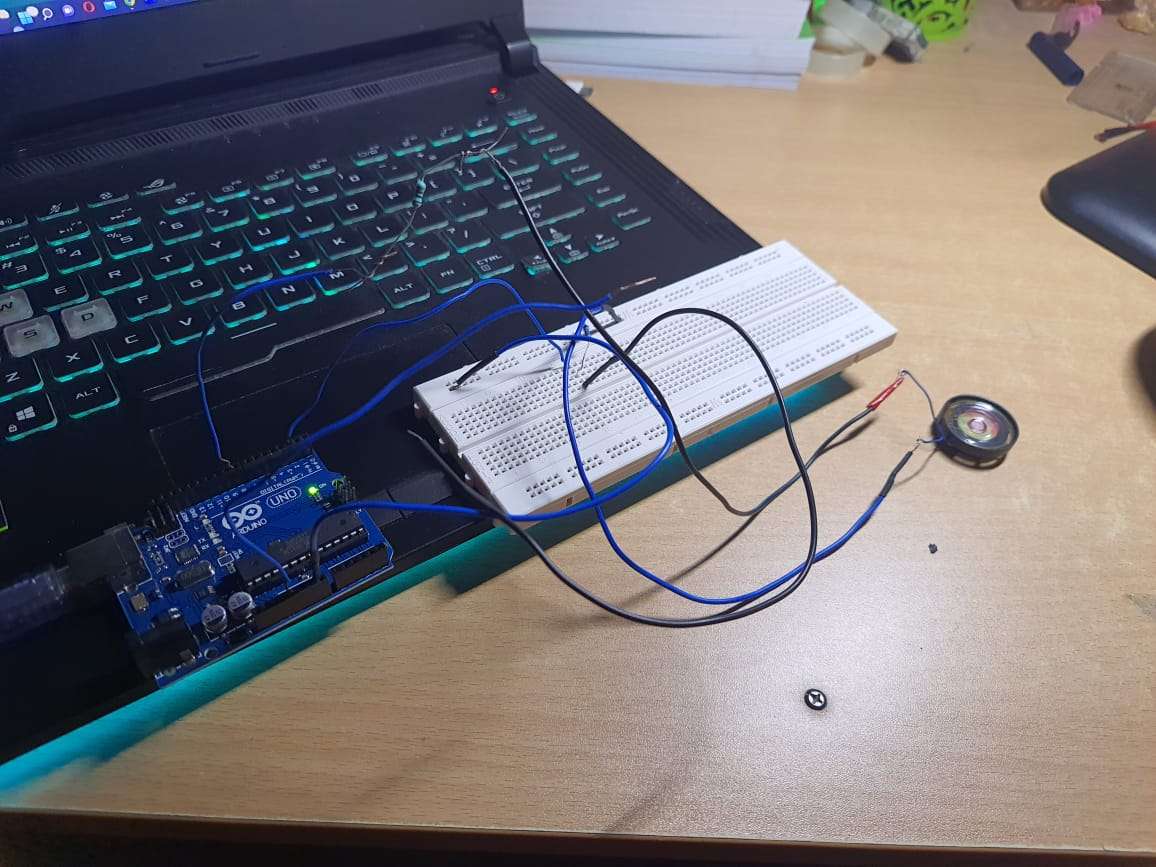
Step 4: Connect a wire from pin 8 of the Arduino to the 10-ohm resistor which another end will connect to the speaker. Also, connect the other end of the speaker to the ground.
Step 5: Now we do the necessary coding on the Arduino IDE and upload it to the Arduino and get the desired results as the red LED glows once the two wires touch the water and the 8 A speaker produces a sound.
Applications:-
1)nuclear power plants
2)Automobiles for measuring the amount of gasoline left in the fuel tank
3)Cooling water
4)Engine oil .
ADVANTAGES:
- Automatically warn against water logging
- Compact design
- High accuracy
- Easy to build
DISADVANTAGES :
- It needs to be replaced frequently as the wires touching the water might get corroded with time..
- We have to replace LED time to time
- The sound coming out of the speaker needs to be amplified.
Code:
// constants won't change. They're used here to set pin numbers:
const int buttonPin = 2;     // the number of the pushbutton pin
const int ledPin =  13;      // the number of the LED pin

// variables will change:
int buttonState = 0;         // variable for reading the pushbutton status

void setup() {
  // initialize the LED pin as an output:
  pinMode(ledPin, OUTPUT);
  // initialize the pushbutton pin as an input:
  pinMode(buttonPin, INPUT);
}

void loop() {
  // read the state of the pushbutton value:
  buttonState = digitalRead(buttonPin);

  // check if the pushbutton is pressed. If it is, the buttonState is HIGH:
  if (buttonState == HIGH) {
    // turn LED on:
    digitalWrite(ledPin, HIGH);

   //tone takes three arguments tone(pin,frequency,duration)
  tone(8,2000,1000);

  //the loop does not wait for the tone to finish so let us delay to here 2 seconds to hear
  //1 second of noise and 1 second of silence-essentially a beep
  delay(2000);
  }
  else {
    // turn LED off:
    digitalWrite(ledPin, LOW);
  }
}