.png)
.jpg)
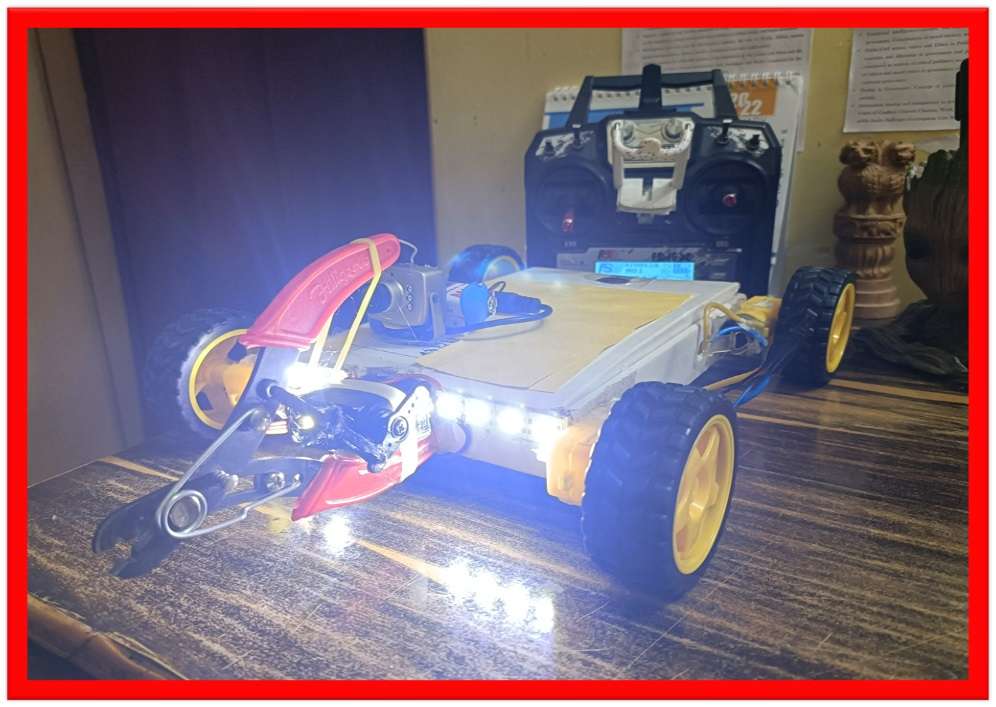
The use of bomb Defuser Robot
•This Robot is operated by a remote by which the Indian Army can closely examine the bomb from a far distance, without putting themselves or others in danger. Once the device has been examined then the Robot will defuse the bomb.
•Bomb Defuser Robot are controlled by an operator from a safe distance. They are able to see what the Robot sees, through a series of cameras on the Robot’s outer casing, with the view transmitted to the operators’ monitors. Usually, there is a camera mounted on the front of the Robot, so the operator is able to see where the Robot is going.
•This Robot is so much handy and easy to use.
The main purpose for making this robot to use in the army,
this robot will help the army to defuse any kind of bomb.
Short description of how I build this:-
1> I made the chassis from cardboard.
2> I attached all electronic parts and hardware.
3> I did my coding.
4> I attached my transmitter and receiver.
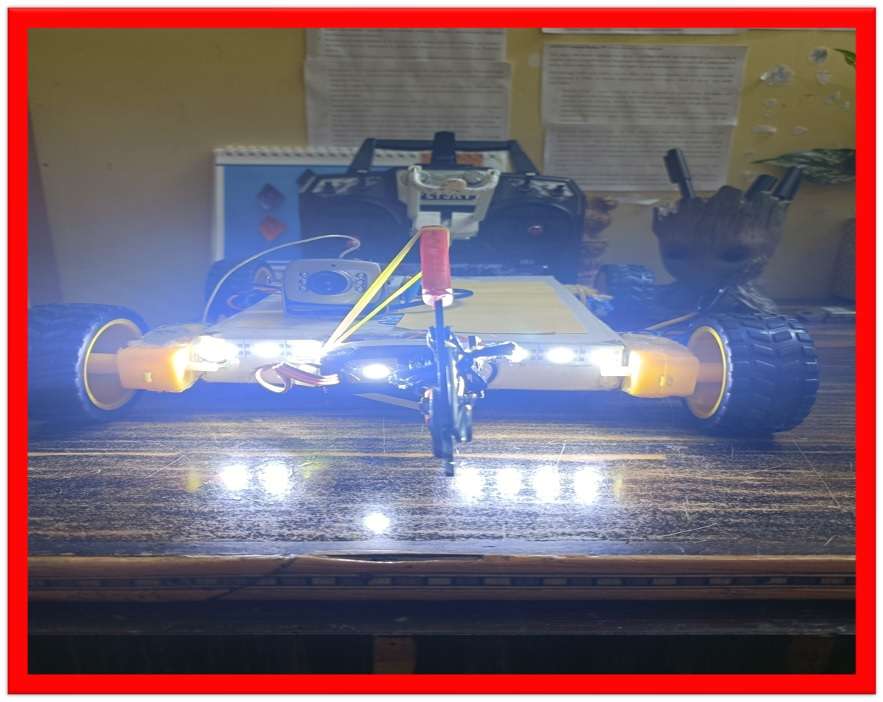
5> I made my wire cutting system and attached it to my robot.
6> I attached the FPV system.
It was ready to go..... :)
Specification of this Robot
- This Robot can go up to 2km.
- It will give us a 45min battery backup.
- The body of this Robot is made up of waste material, only the electronics are purchased.
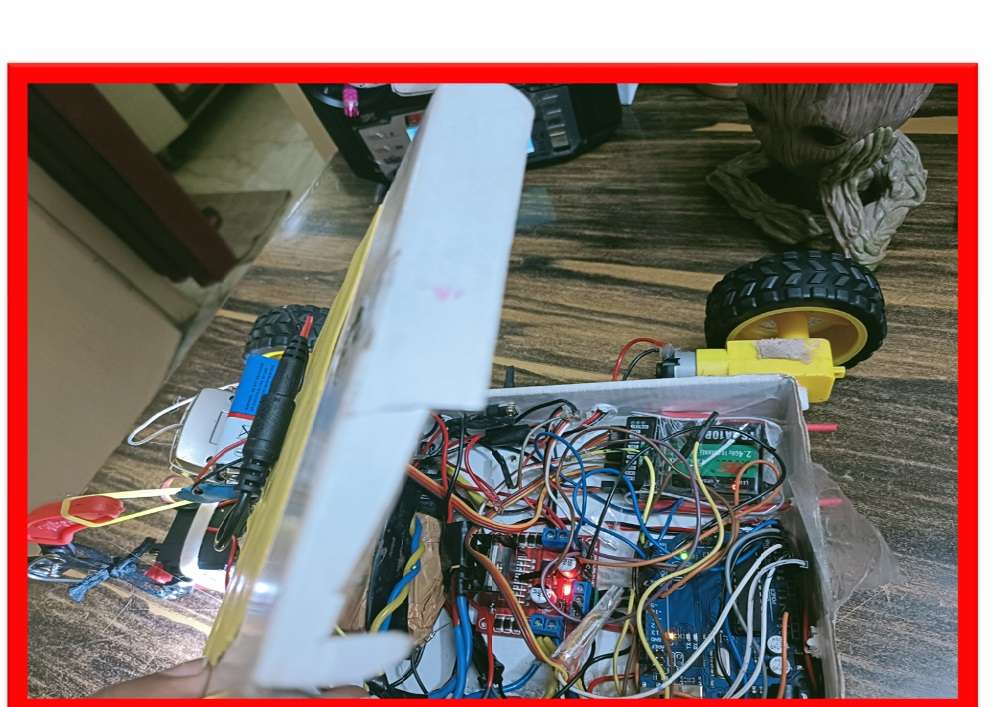
Parts used in this robot:-
1> Arduino Uno. (the brain of the robot)
2> L298 motor driver. (attached with Arduino and motor)
3> Bo motor and wheel. (helps for the movement)
4> Servo motor. (helps the cutter to cut the wire)
5> FPV Camera. (which shows live video)
6> Flysky fs-i6x transmitter and reicever. (main controller of the robot, which helps the robot to go up to 2km)
7> lipo Battery. (power supplier)
8> Jumper wire. (which helps to connect all hardware)
9> Wire cutter. (by which robot can cut any type of wire)
10> Led. (helps the robot to go to a dark place)
11> LM 7805 voltage regulator. (which supply 5v to led)
12> Waste material to make the chassis.
Hope u like my idea:)
Thanks