
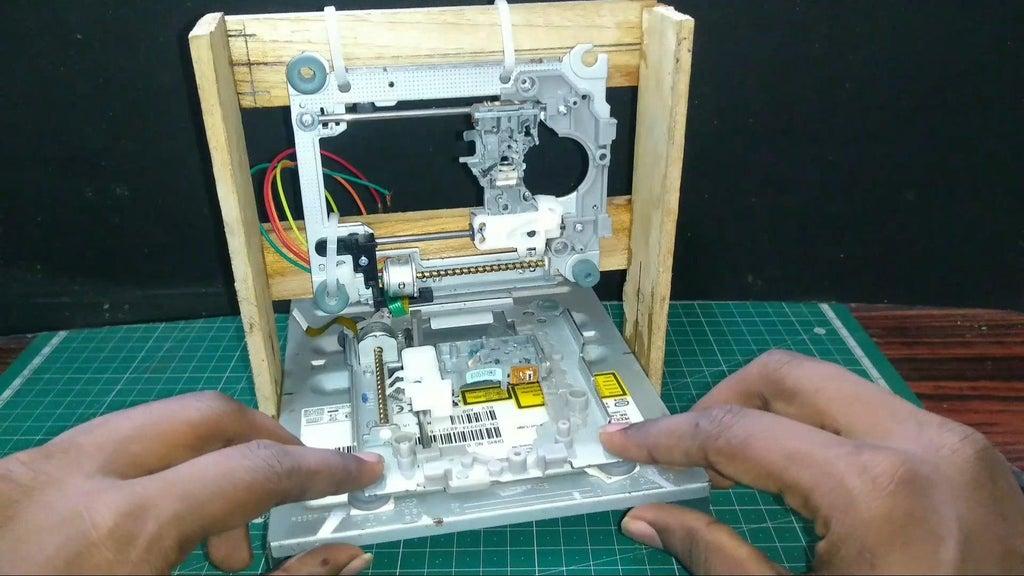
Step 1: CD-ROM
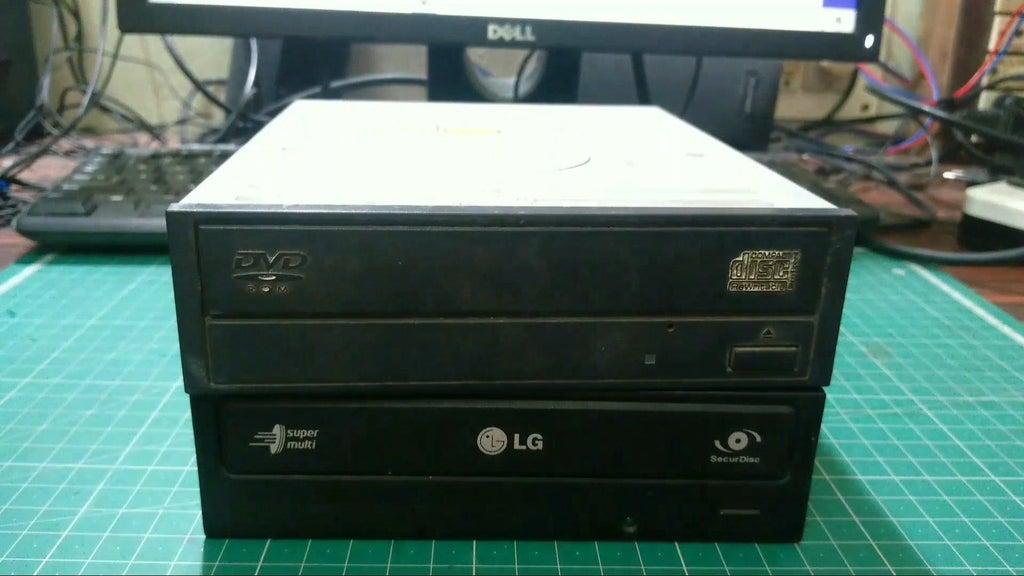
Now a days CD drives are not used regularly .So you will Get cd rom for cheap price
Step 2: Stepper Motor
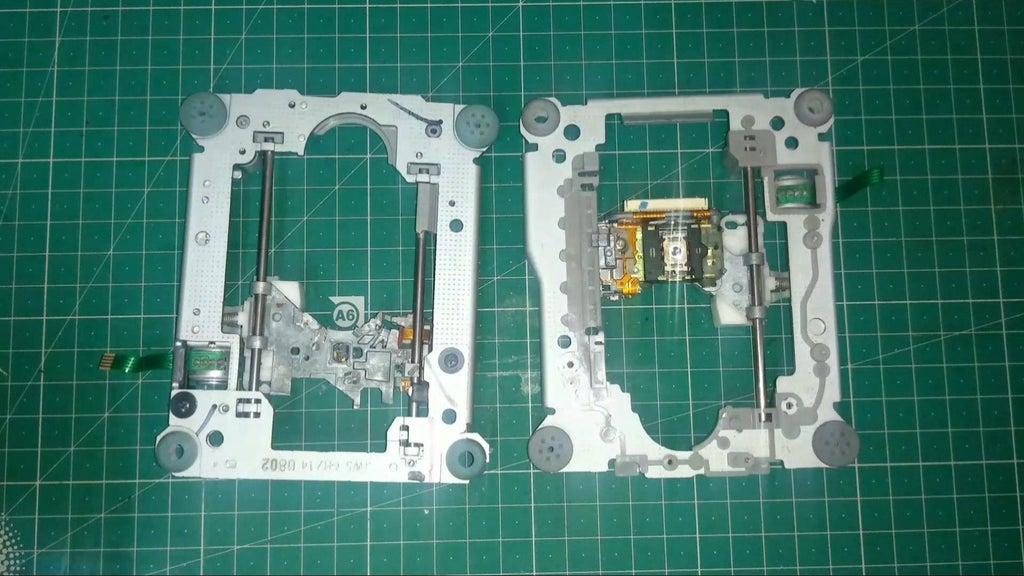
Dismantle the CD- ROM so you will get two stepper motar
Step 3: Soldering
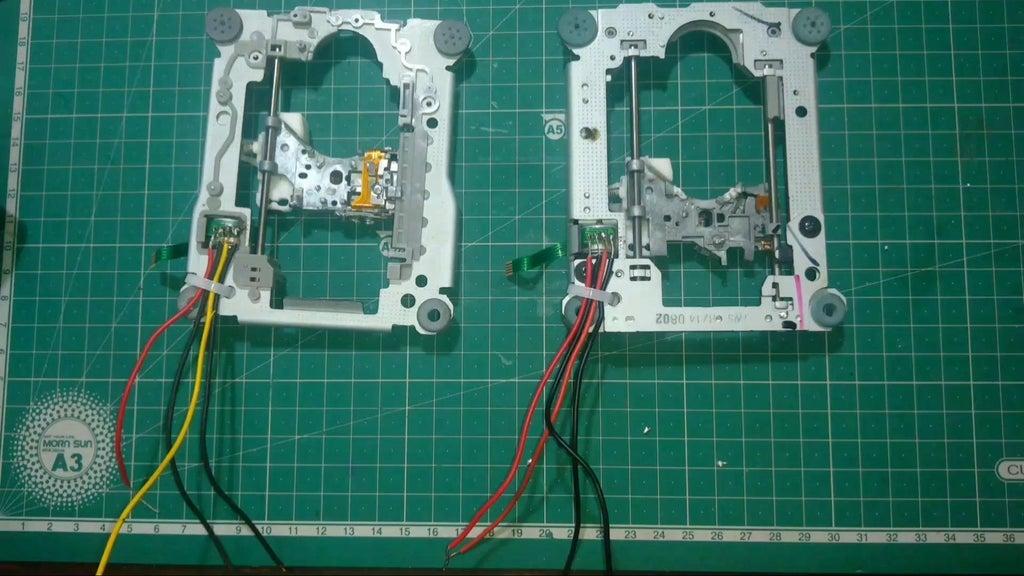
Solder the four leads in the stepper motor
Step 4: Frame
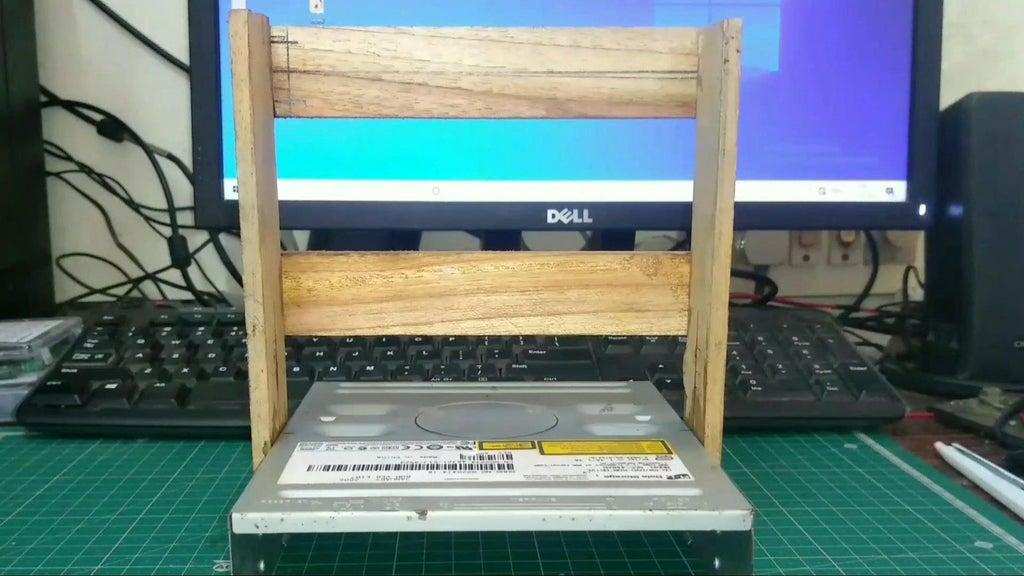
I made this frame by using CD-ROM chase and some old woods
Step 5: Setting Up Y Axis
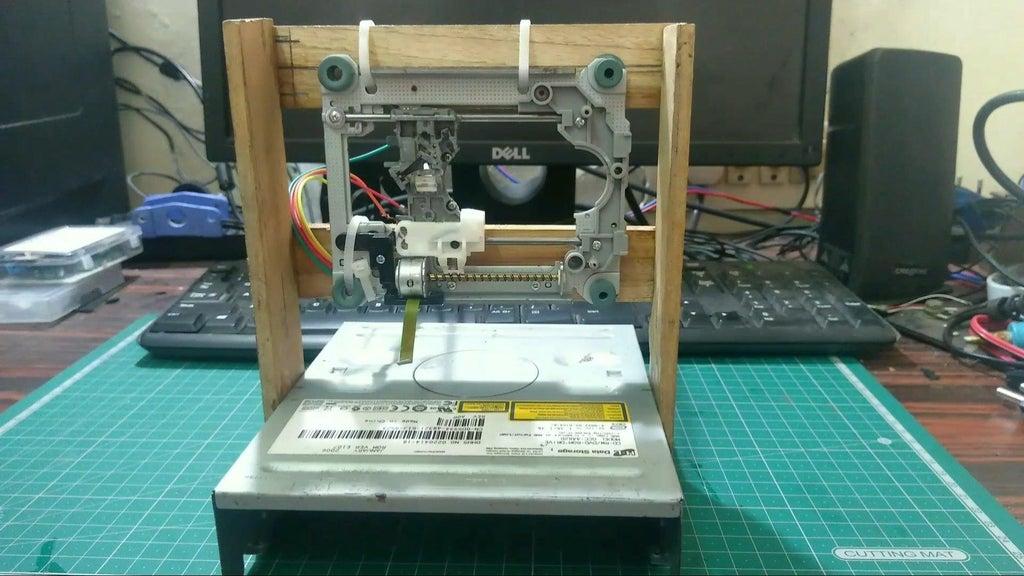
Set your "Y" axis stepper motor in vertical postion
Step 6: X Axis
Set your "X" Axis Stepper motor in Horizontal Postion
Step 7: Servo Motor
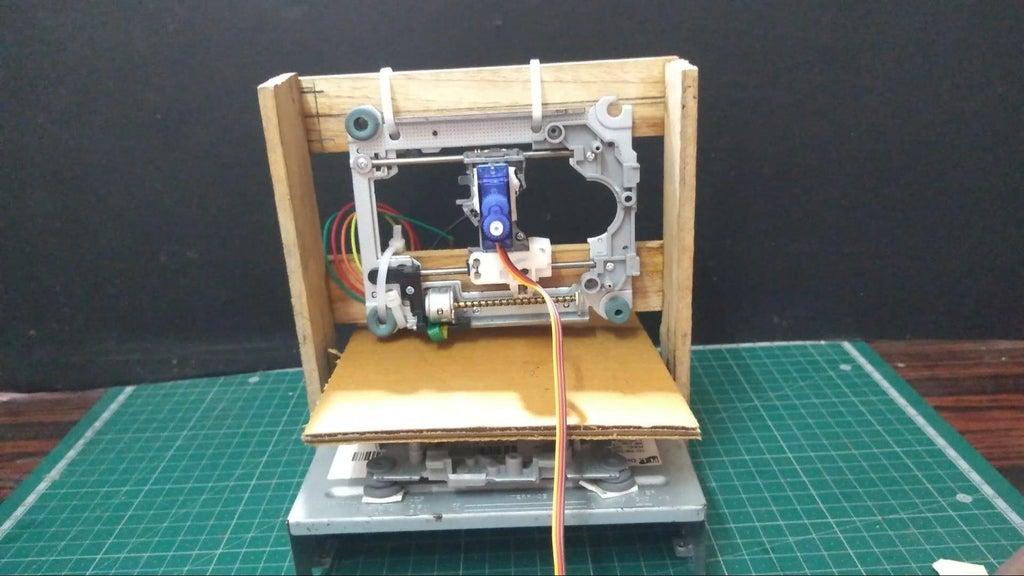
Servo motar used to lift pen up and down . So place the servo motor in Y axis
Step 8: Arduino
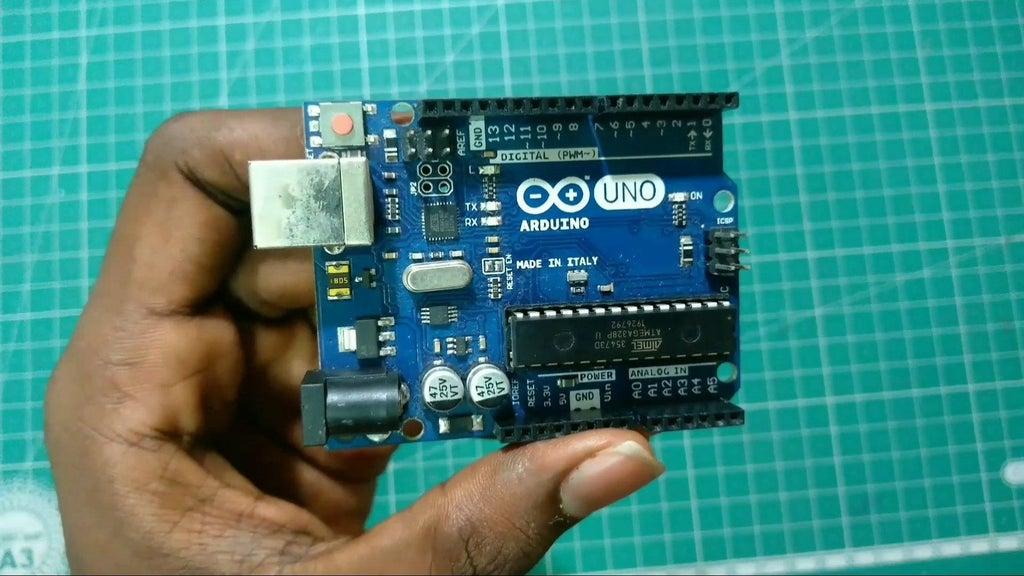
The Arduino Uno is one of the most common Arduino boards available, and it has some user-friendly features
Step 9: L2939 Motor Driver
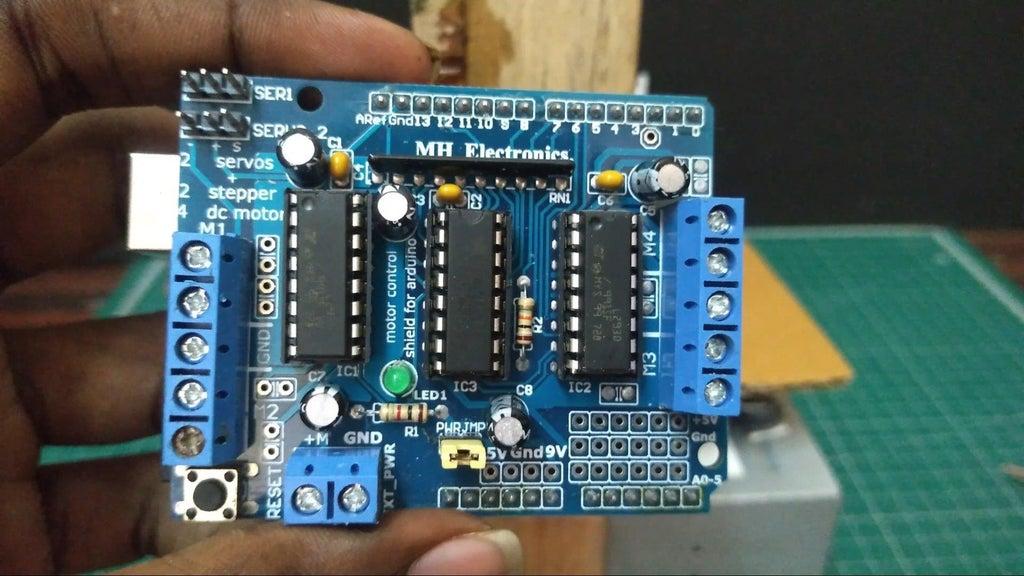
Motor shield Used to control Two Stepper motor
Step 10: Wiring X and Y Axis
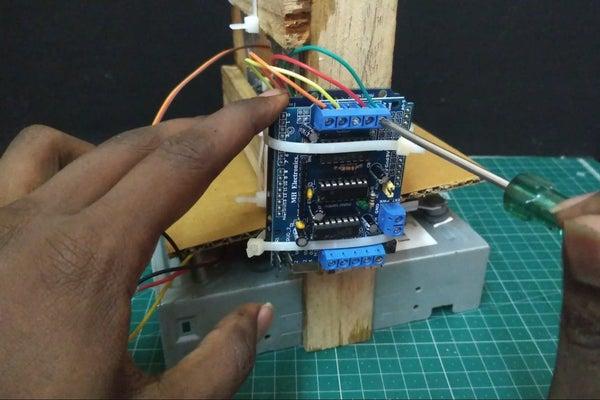
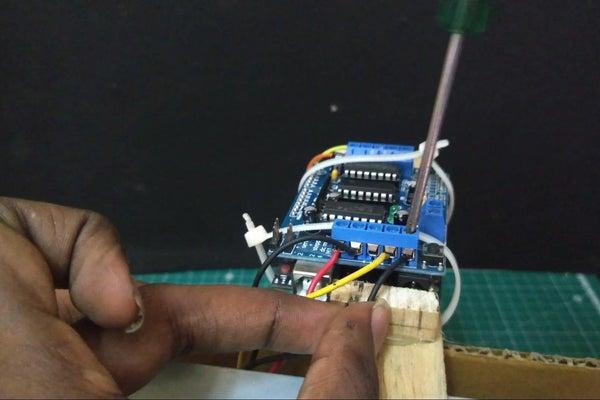
Step 11: Connecting Servo to L293d Motor Driver

Step 12: First Upload Your Arduino Code
Step 13: Secondly How Upload Your Processing Code

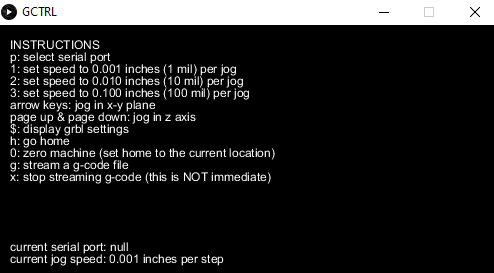
Step 14: Press P to Select Port Number & Press G to Select G Code
Step 15: Final Output
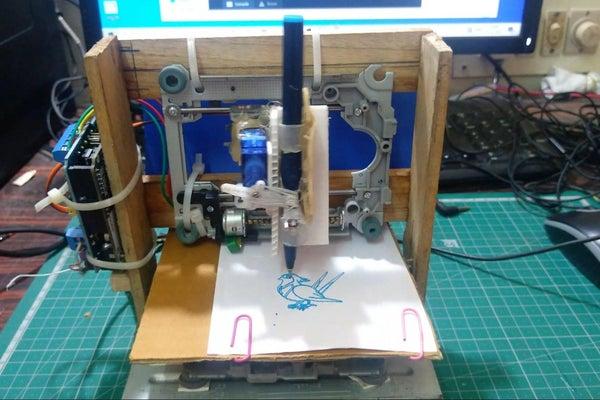
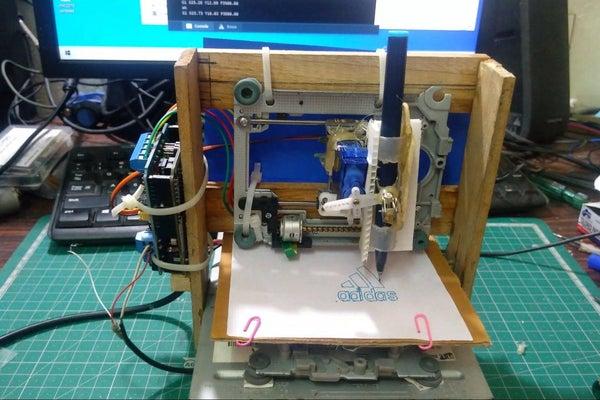
I would love to have your feedback.
To find similar project, Please visit my YouTube Channel: Prabeen - YouTube