- Building a versatile, Bluetooth-controlled robot involves several key steps, from gathering components to programming and assembling the robot. Here is a step-by-step guide to building such a robot. Refer the below link for the video.
Video
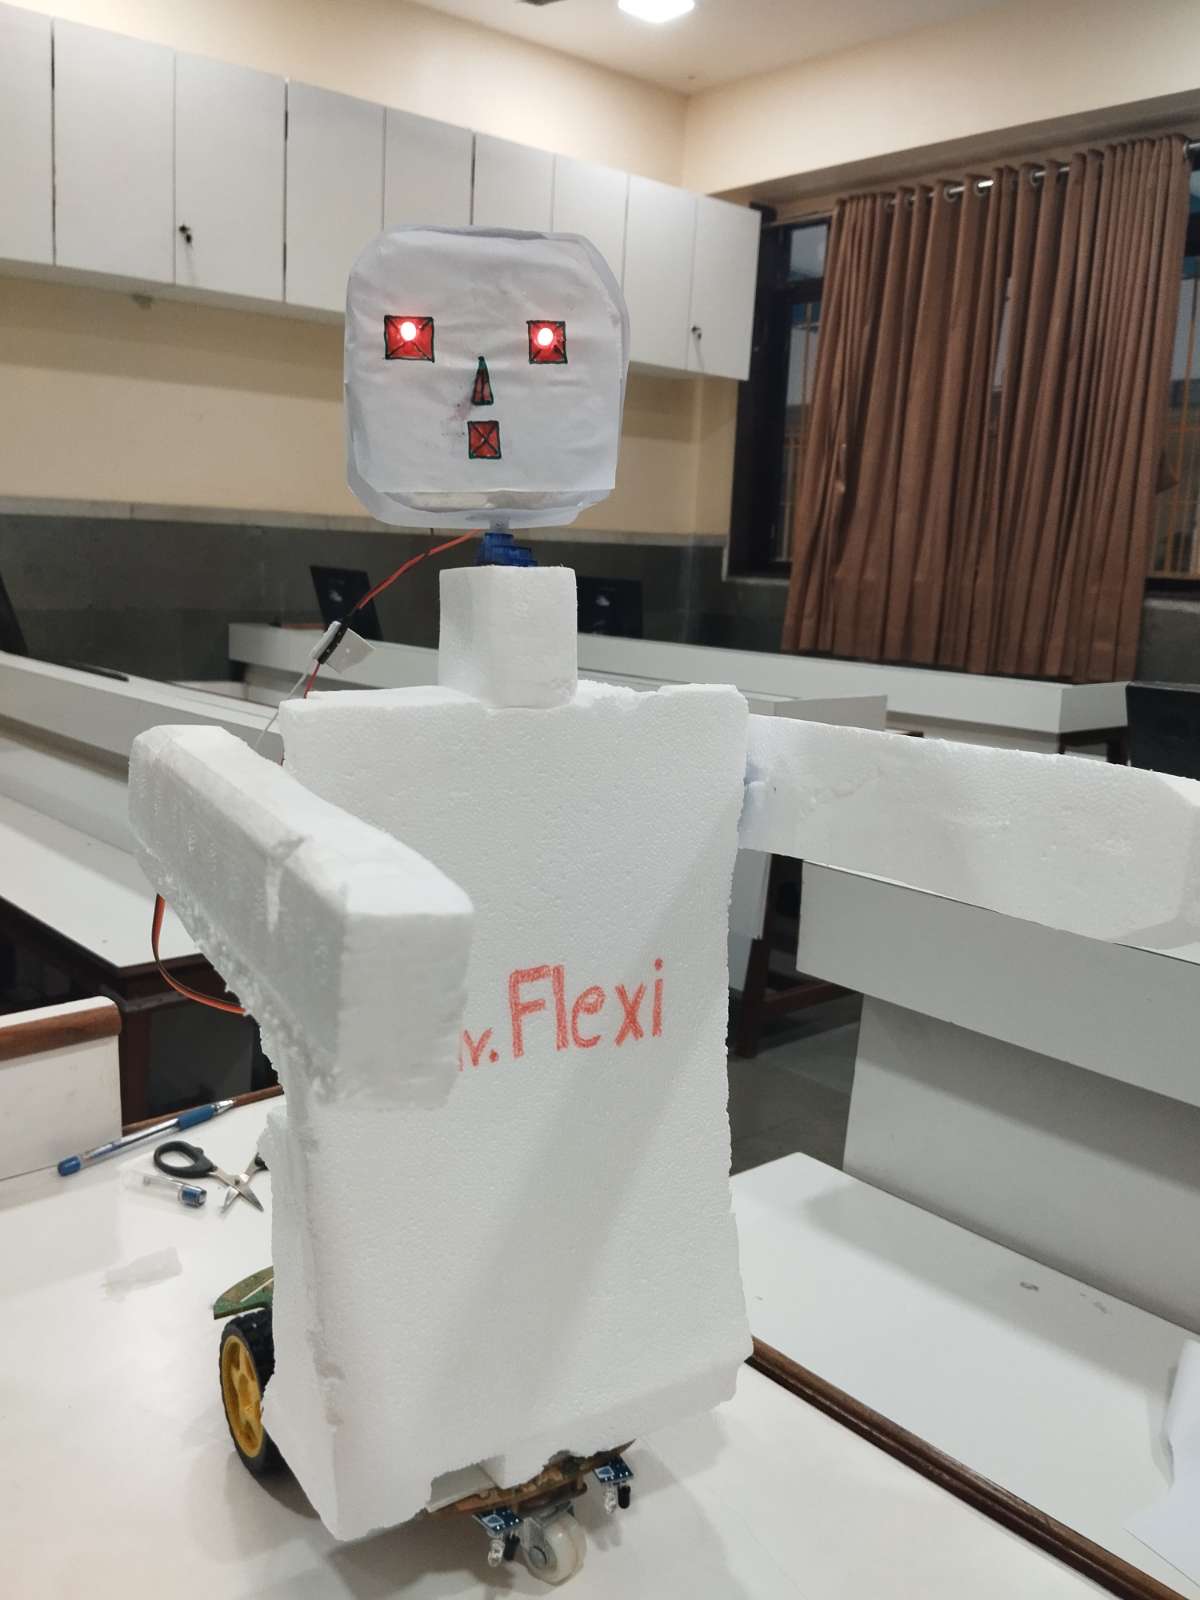
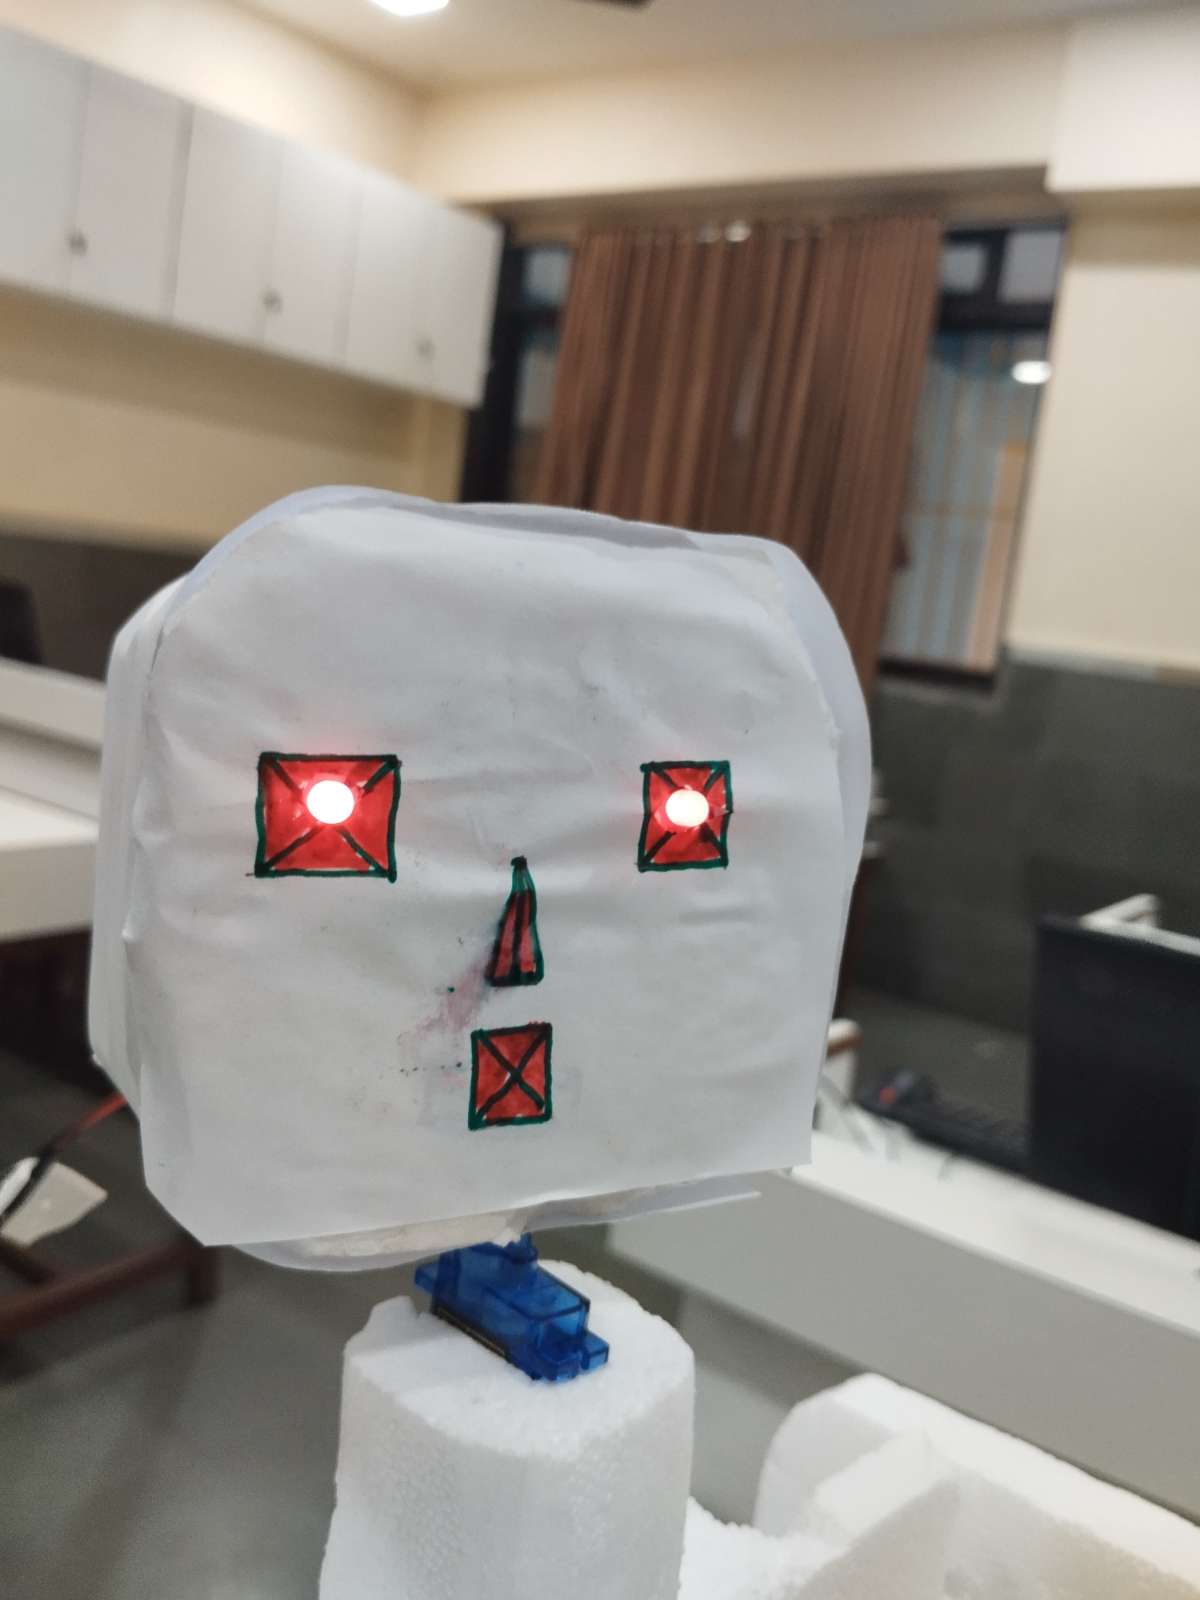
Mr. Flexi:
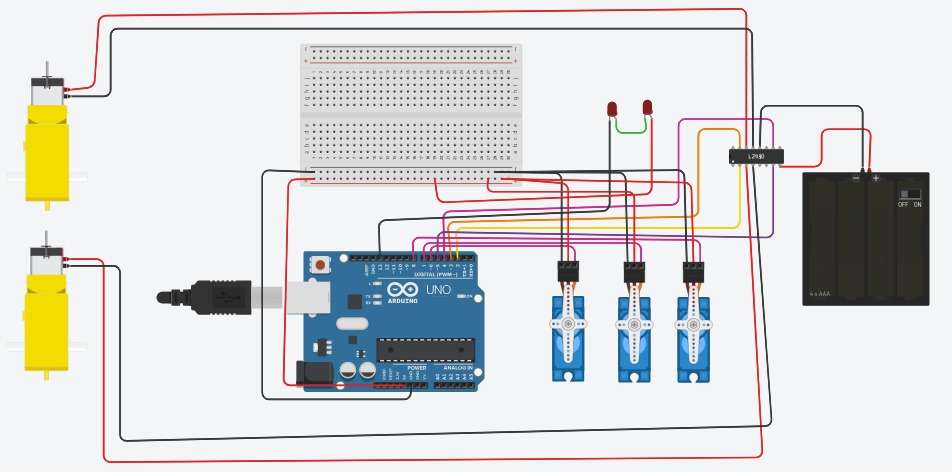
Circuit Connection
Code
#include <Servo.h>

int motleft1 = 2;
int motleft2 = 3;
int motright1 = 4;
int motright2 = 5;
Servo myservo1;  // create servo object to control a servo
Servo myservo2;
Servo myservo3;
int servo1 = 6;  // define the pin for the servo
int servo2 = 7;
int servo3 = 8;
void setup()
{
  // Defining pins for the movement of motors
  Serial.begin(9600);
  pinMode(motleft1, OUTPUT);
  pinMode(motleft2, OUTPUT);
  pinMode(motright1, OUTPUT);
  pinMode(motright2, OUTPUT);
  myservo1.attach(servo1);  // attaches the servo on pin 6 to the servo object
  myservo2.attach(servo2);
  myservo3.attach(servo3);
  pinMode(13, OUTPUT);
}

char incomingByte = 0;

void loop()
{
  if (Serial.available())
  {
    incomingByte = Serial.read();
    Serial.println(incomingByte);
    digitalWrite(13, HIGH);
    delay(1000);
    digitalWrite(13,LOW);
    delay(1000);
    if (incomingByte == 'f')  // Forward
    {
      digitalWrite(motleft1, HIGH);
      digitalWrite(motleft2, LOW);
      digitalWrite(motright1, HIGH);
      digitalWrite(motright2, LOW);
      Serial.println("forward");
    }
    else if (incomingByte == 'l') // Left
    {
      digitalWrite(motleft1, LOW);
      digitalWrite(motleft2, LOW);
      digitalWrite(motright1, HIGH);
      digitalWrite(motright2, LOW);
      Serial.println("left");
    }
    else if (incomingByte == 'r') // Right
    {
      digitalWrite(motleft1, HIGH);
      digitalWrite(motleft2, LOW);
      digitalWrite(motright1, LOW);
      digitalWrite(motright2, LOW);
      Serial.println("right");
    }
    else if (incomingByte == 'b') // Backward
    {
      digitalWrite(motleft1, LOW);
      digitalWrite(motleft2, HIGH);
      digitalWrite(motright1, LOW);
      digitalWrite(motright2, HIGH);
      Serial.println("backward");
    }
    else if (incomingByte == 'p') // Stop
    {
      digitalWrite(motleft1, LOW);
      digitalWrite(motleft2, LOW);
      digitalWrite(motright1, LOW);
      digitalWrite(motright2, LOW);
      Serial.println("stop");
    }
    else if (incomingByte == '1') // Servo Up
    {
      myservo1.write(0);  // set servo to 0 degrees
      Serial.println("servo up");
    }
    else if (incomingByte == '4') // Servo Down
    {
      myservo1.write(90);  // set servo to 90 degrees
      Serial.println("servo down");
    }
     else if (incomingByte == '2') // Servo Up
    {
      myservo2.write(0);  // set servo to 0 degrees
      Serial.println("servo up");
    }
    else if (incomingByte == '5') // Servo Down
    {
      myservo2.write(90);  // set servo to 90 degrees
      Serial.println("servo down");
    }
     else if (incomingByte == '3') // Servo Up
    {
      myservo3.write(0);  // set servo to 0 degrees
      Serial.println("servo up");
    }
    else if (incomingByte == '6') // Servo Down
    {
      myservo3.write(90);  // set servo to 90 degrees
      Serial.println("servo down");
    }
  }
}
1. Gather Components:
- Arduino Uno
- Servo Motors (for hands and head movement)
- DC Motors with wheels (for forward and backward movement)
- Motor Driver L298N
- Bluetooth Module (HC-05)
- LED
- 12V Battery
- Chassis (robot body)
- Jumper wires
- Breadboard or PCB
- Smartphone (with Bluetooth control app)
2. Assemble the Chassis:
- Attach the DC motors to the chassis and connect the wheels.
- Secure the servo motors to the chassis for hand and head movements.
- Ensure all motors are firmly attached and can move freely.
3. Connect the Motors to the Motor Driver:
- Connect the DC motors to the outputs of the L298N motor driver.
- Connect the motor driver inputs to the appropriate pins on the Arduino.
- Connect the 12V battery to the motor driver to power the motors.
4. Connect the Servo Motors to the Arduino:
- Connect the signal wires of the servo motors to the PWM pins on the Arduino.
- Provide power and ground connections to the servo motors from the Arduino or an external power source.
5. Set Up the Bluetooth Module:
- Connect the Bluetooth module to the Arduino. Typically, the RX pin of the Bluetooth module goes to the TX pin of the Arduino and the TX pin to the RX pin of the Arduino.
- Power the Bluetooth module from the Arduino or an external power source.
6. Connect the LED:
- Connect an LED to one of the digital pins of the Arduino through a current-limiting resistor.
7. Program the Arduino:
- Write a program for the Arduino to control the motors, servos, and LED based on Bluetooth commands received from the smartphone.