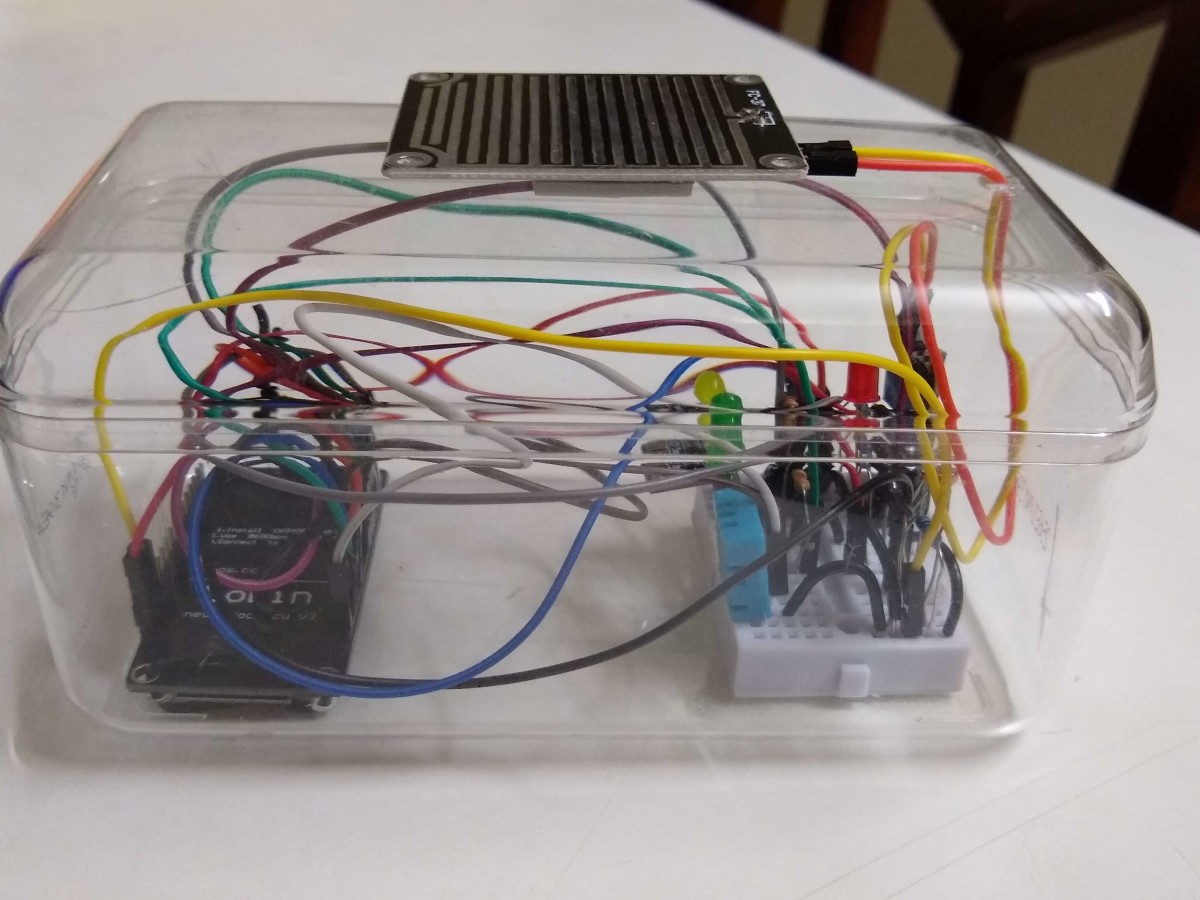
Introduction
We built an IoT based weather station which can monitor various environmental parameters such as temperature, humidity, dew point, pressure, light intensity, altitude, rain value.
This can be done by reading various sensor's data using NodeMCU and uploading them to the Adafruit Dashboard.
Hardware used
- Breadboard
- Jumper wires
- NodeMCU v0.9
- DHT11 (Temperature and humidity sensor)
- BMP180 (Pressure and temperature sensor)
- Rain sensor
- LDR
- Two 1N4001 diodes 1A, 50V
- Three 10k resistors

Connection Diagram
(0).jpg)
Digital Sensors
We have used two digital sensor i.e. one is DHT11 which is used for reading ambient humidity and temperature and other one is BMP180 which is used to measure pressure and altitude
We have directly interfaced these digital sensors to NodeMCU.
Multiplexing of Analog Sensors
The two analog sensors (LDR and Rain sensor) have been multiplexed to the single analog port of the NodeMCU.
- To multiplex these analog sensor we have just connected the two sensors to the analog input directly, only using two diodes to stop the reverse flow of current into the sensor.
- To accept the inputs one by one, the Vcc of both the sensors have been operated through two GPIO pins of the NodeMCU.
- We enable the Vcc of one sensor by making GPIO pin high, read its input, then enable the other sensor's Vcc and read that input sequentially. Refer the circuit diagram for the multiplexing connection using diodes.
Dew Point & Altitude Calculation
- As the DHT11 sensor can only read temperature and humidity, we can calculate the dew point using these two parameters
double gamma = log(h/100) + ((17.62*t) / (243.5+t))
double dp = 243.5*gamma / (17.62-gamma)- The BMP180 can read pressure and temperature, so we can calculate the altitude by using these parameters.
- For this we need the sea level pressure of the respective location to be entered into the code for accurate altitude readings.
- There is an in-built function in the bmp class if you're using the adafruit bmp180 library. The following snippet of code shows how sea level pressure is used to calculate altitude.
float seaLevelPressure = 1009;
Serial.print("Altitude:         ");
Serial.print(bmp.pressureToAltitude(seaLevelPressure,event.pressure));
Serial.println(" m");
Publishing to Adafruit
We have used Adafruit Server to publish the recorded data. Create a dashboard after signing in to adafruit and create a feed for every parameter to be measured.
We have created 8 feeds for various parameters which is shown in below image,

Note: You can use thingspeak instead of adafruit. However, there is a 15 second delay between publishing each value and it getting displayed.
LED Indicators
- We have also connected 3 LEDs to indicate successful connection to Wifi, MQTT server and publishing values to adafruit. This bit of code is optional, only if you are not using a laptop to check connectivity at all times.
We have used a power bank so after the code is uploaded on the NodeMCU via laptop, we just need a power source. This will make our weather station standalone and portable.
