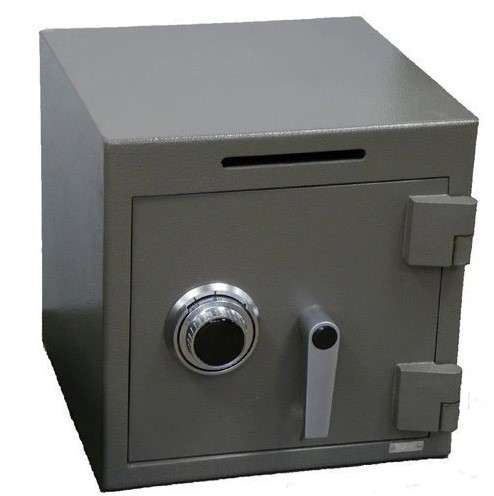
Rotary dial safes typically use a mechanical combination lock. They are valued for their simplicity, reliability, and resistance to tampering, making them a popular choice for securing valuables and sensitive items. 
This time I will present you a very unusual and original way for a door lock system where the password is entered using a rotary encoder, in a way similar to above mentioned safes, with a certain combination of turning left and right. The source code was given in a post on the "arduino cc" forum without any more detailed explanations and a schematic diagram, so I decided to build the complete project and check the functionality.
I also made minor modifications and improved the functionality by adding a buzzer for the audio presentation of the number of encoder moves.
The device is relatively simple to make and consists of several components:
- Arduino Nano microcontroller board
- Rotary encoder with push button
- 5V solenoid (you can notice that I am using a 12V solenoid, which works perfectly fine on 5V)
- BD238 or similar medium power PNP Transistor
- Button
- 3 Leds
- Active Buzzer
- and few Resistors

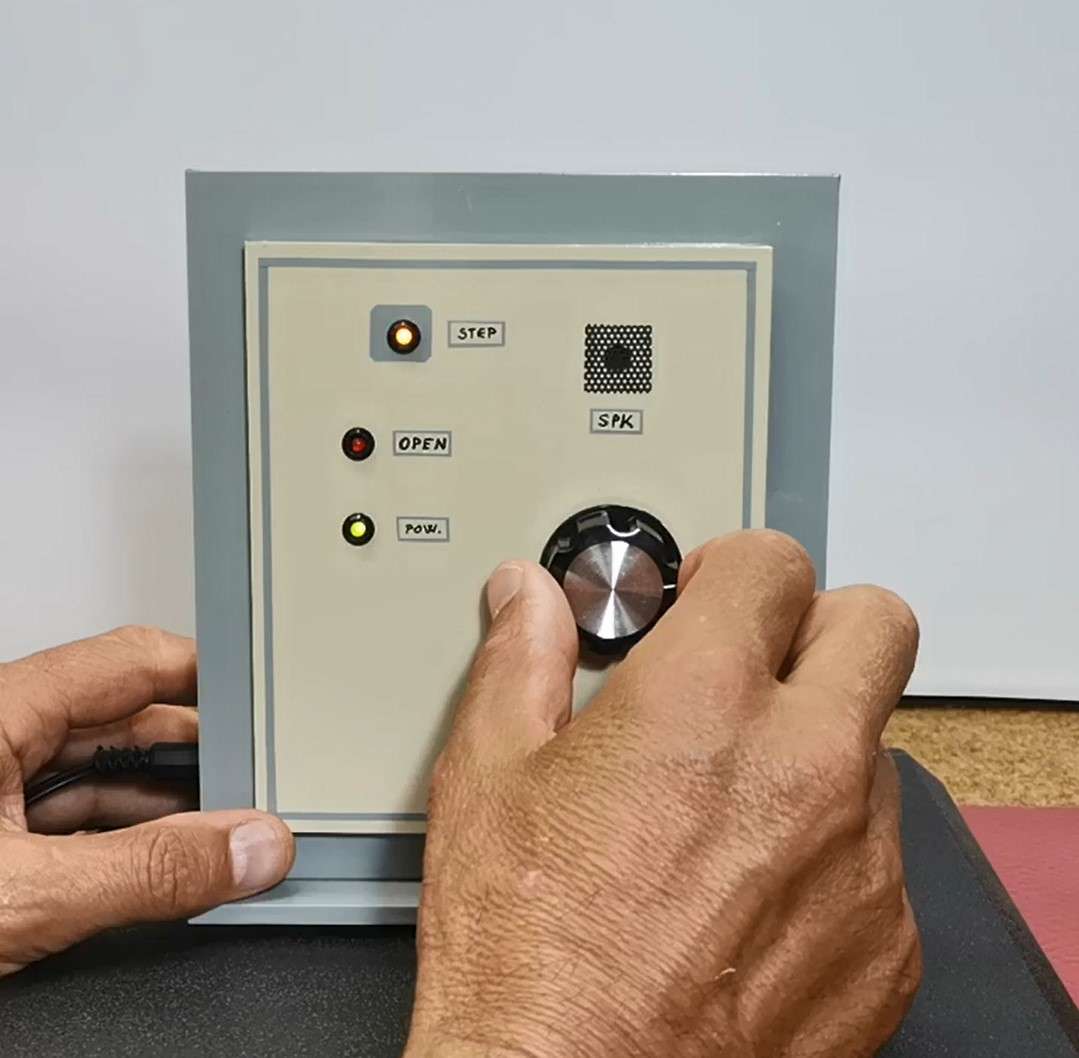
First, let me briefly explain the way of work. When turning on the device, the green power diode is activated, which indicates that the device is active. After 15 seconds of inactivity, the diode turns off, and the device is now in the standby position. By pressing the button of the rotary encoder, the lock is activated. The unlock code is entered by turning the rotary encoder to the left and right a certain number of steps. 
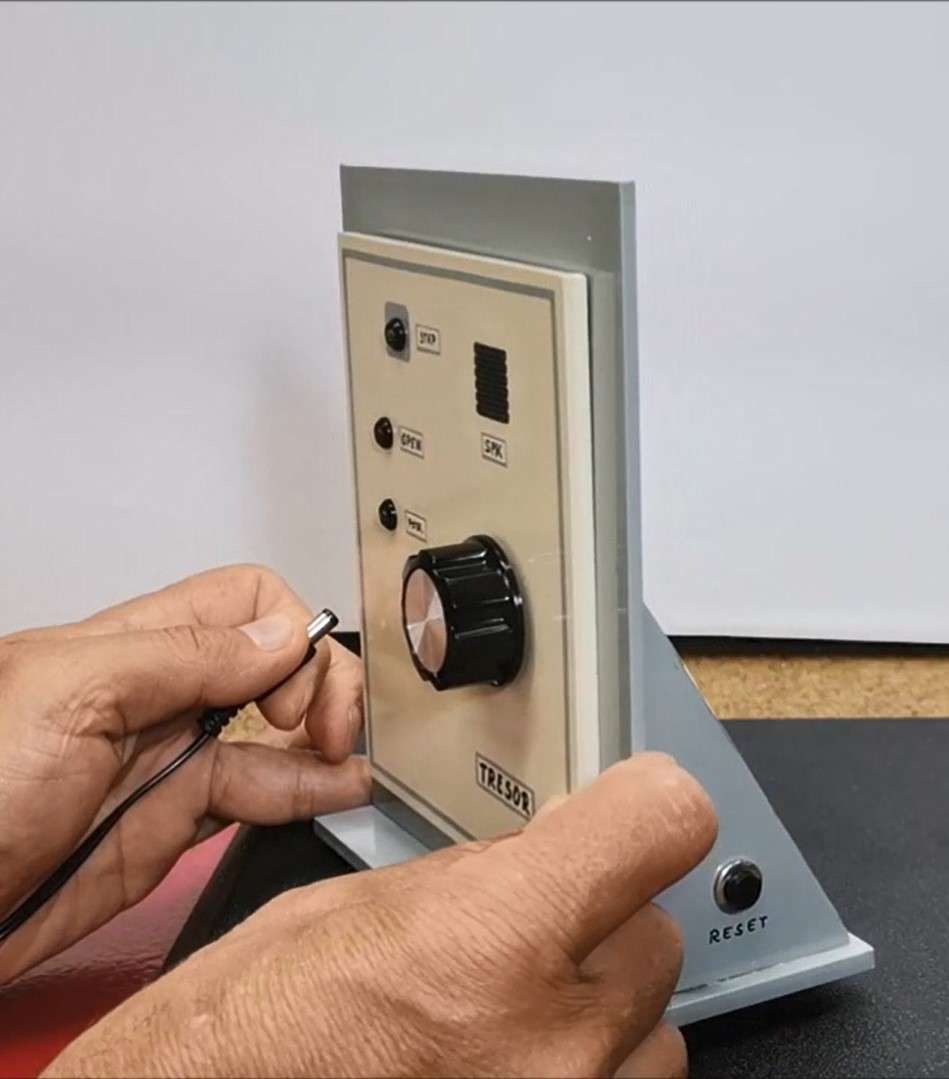
The number of entered steps is attached visually to the yellow LED, and to the buzzer in the form of short beeps. When the correct password is entered, the button from the rotary encoder is pressed and the solenoid is activated, and at the same time the red LED lights up, which indicates that the door is open. After a certain time of several seconds which is defined in the code, the solenoid is deactivated again. The default password entered in the code is 221 (2 right - 2 left - 1 right - button) but we can change it as described later in the video. To reset the default password, we need to hold down the RESET button and turn on the device.

When setting a new password you can vary the number of tumblers as well as the range of valid numbers. As is, with five tumblers and forty possible numbers, there are over one hundred million possible combinations. Let me mention that the first number of the combination must be turned clockwise and each succeeding number alternates direction.
And now let's see how the device works in real conditions
When turning on the device, a green LED lights up and we can enter the password. First, I use the default password, which is 221 (2 right, 2 left, 1 right). After a few seconds, the solenoid returns to its original state.
Now to enter a new password, press the button while the red LED is on, and the yellow LED starts flashing. Next we enter the new password and press the button, and again to confirm. So the new password is set.
And finally a short conclusion. This is a very original, effective, and interesting example of a safe lock, which is almost identical to the large factory safes and thanks to the use of a microcontroller is very simple to make. For the sake of simplicity, the device is mounted in an open box that represents only the front panel of the safe.

