
A smart energy meter using the ESP8266 microcontroller allows for real-time monitoring and reporting of electrical energy consumption. The ESP8266, with its Wi-Fi capability, connects the meter to the internet, enabling remote data access and control. This setup typically includes a current sensor, such as the HW-872A/B/C, to measure the current flow. The measured data is processed by the ESP8266 and transmitted to a cloud service or a local server. Users can access and visualize their energy usage through a web interface or a mobile app. This smart meter helps in efficient energy management by providing detailed insights and alerts on consumption patterns. It also supports integration with smart home systems for automated energy-savining strategies.
This is all about the working of the Above Smart Energy meter .
Now, Let's look into the step wise procedure of building this project
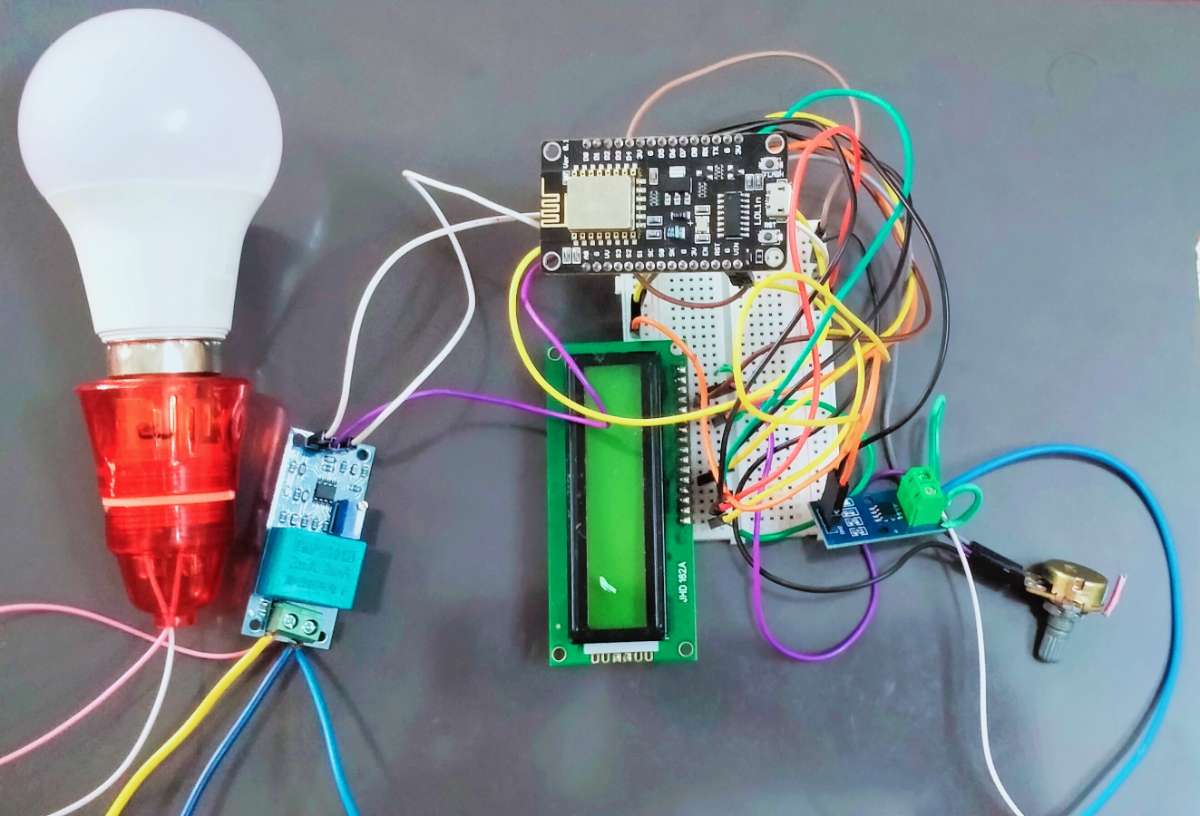
1.Connect the LED bulb to external power supply and Voltage sensor ZMPT101B.Connect with ESP8266NodeMCU through the vcc ,gnd ,out pins to digital pins of ESP8266.
2.Connect the current sensor HW-872A/B/C in series with bulb and voltage sensor ZMPT101B. Connect with ESP8266NodeMCU through the vcc ,gnd ,out pins to digital pins of ESP8266.
3. Connect the LCD Module with potentiometer POT ,to display the values of the voltage ,power,current ,and RMS values drawn by the bulb through digital pins of ESP8266 NODeMcu.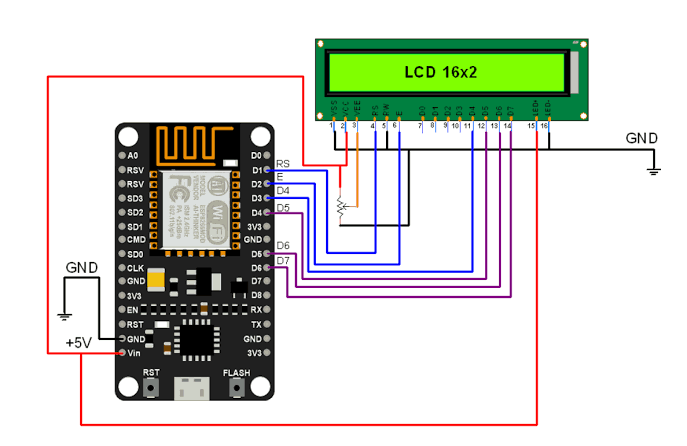
4.All these connections are done by using breadboard individually and then unitedly with NodeMcu Esp8266
5.Writting the programming of SMART energy meter using Arduino IDE tool .

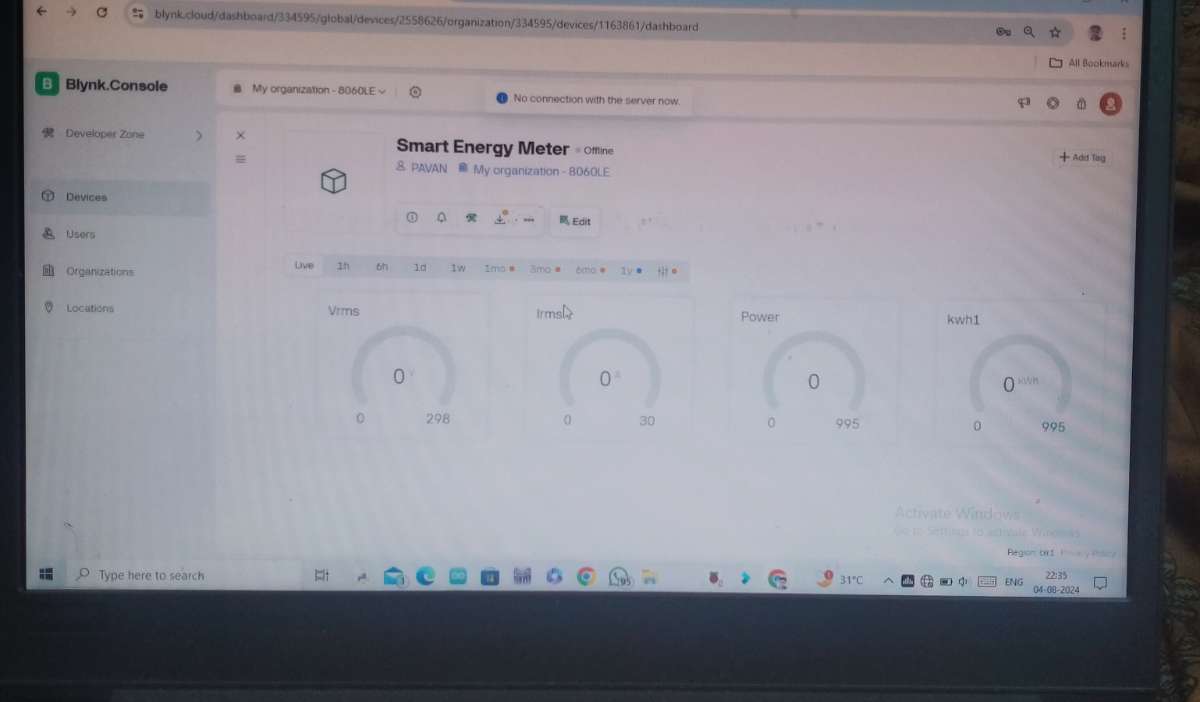
6. Connect the ESP8266 With the blink server by creating a project in blyn website and enter Passcode ,Check id and auothnitication token in the Code .
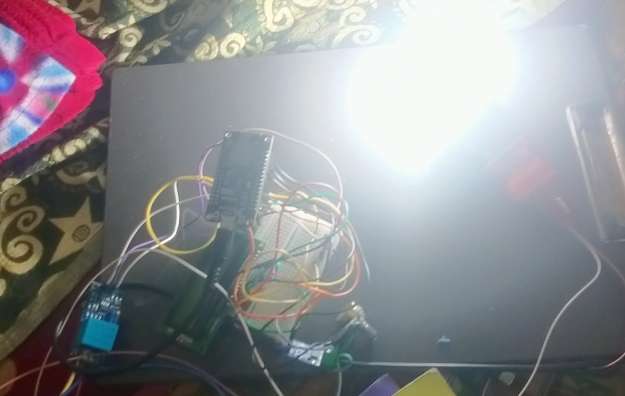
7.switch ON the power supply to check the readings.
8.After sucessfully connected with blynk server ,now we can measure the readings of Power,Current ,Voltage ,and RMS values in blynk server and we can check wether same values are getting in the LCD display .
9.The easy monitization of the project we use this project in the mobile ,there we can see the readings.

10.This we can further develop to calculation of amount in rupees ,that how much electricity bill it will generate.
11.This project helps us to moniter the electric equipment to conserve the electricity,and reduse the electricity bill by actually knowing should we turn off or On the bulb.
12.Hence the result we can check here image provided.