Microsoft Azure is a cloud computing service by Microsoft which is widely used for building, testing, deploying and managing applications and services through a global network of data centers that are managed by Microsoft.
We need to create a Microsoft Azure account to start using the Azure services.
Microsoft Azure allows creating a free account that comes with a credit of 200$ (Rs. 13,300) which can be used for 30 days. The account provides many of the popular services for free for the first 12 months. 25 Azure services are always free and can be used without purchase.
You will need a Microsoft account for this.
If you do not already have a Microsoft account, create one by visiting the Microsoft account site.
You can use your email ID or get an email ID from Microsoft to create the account. You can also use a phone number to create the account.
You will also require a credit card and your PAN details in order to create the account.
Azure requires credit card information for identity verification while creating an account. The card is not charged until any purchases or upgrades are made.
To create your free trial account, follow the steps given below :
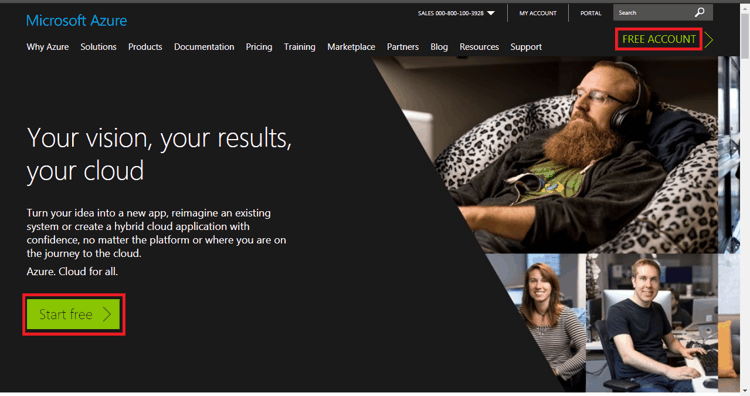
1. Go to https://azure.microsoft.com/en-in/ and click on FREE ACCOUNT or Start free which are highlighted in the image below.
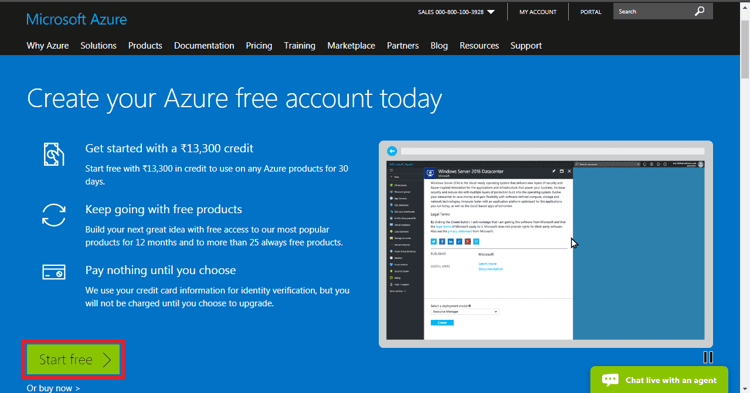
2. You will be redirected to a page with the following URL : https://azure.microsoft.com/en-in/free/
Click on Start Free which is highlighted in the image below.
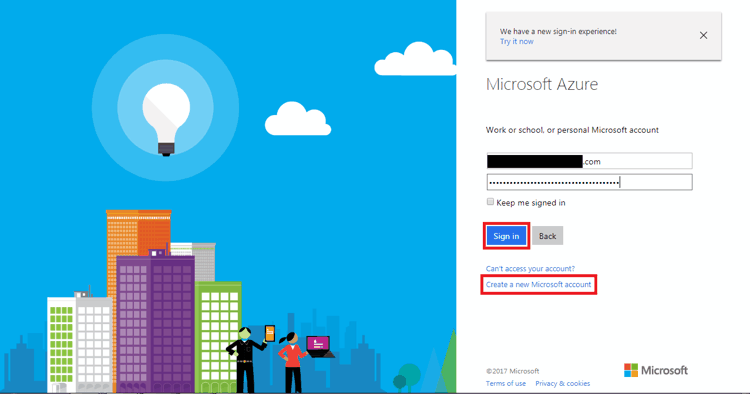
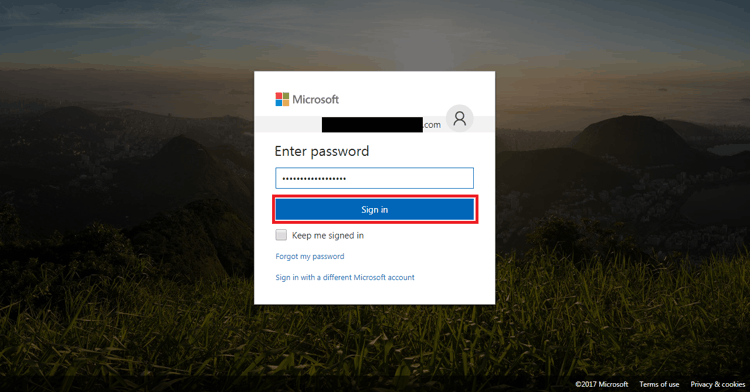
3. You will be redirected to a login page. Enter the credentials of your Microsoft account here and click on Sign in as shown in the image below. Microsoft might ask you if it is your personal account or Work/School account. Depending on the option, you may be redirected to another login page where you will have to enter the password for login or you may have to enter the password on the same page. Both the cases are shown in images below.
If you do not already have a Microsoft account and have not created one as mentioned earlier in the document, click on Create a new Microsoft account as highlighted in the image below.
4. On Signing In, you will be taken to a page where you will have to fill in a few details before you can complete the Sign Up for Azure. It might take a few minutes before the details page appears.
Fill in the details one by one. Once you have filled in all the correct details, verified your identity through phone number, filled in the credit card details, and agreed to the terms and conditions, the Sign Up button shown in the image below will become green and you can proceed to your Azure account.
Note : The credit card may be charged a 1$ fee as a verification hold. This will be returned to your account within 3-5 days.

5. Once you click on the Sign Up button, you will be taken to the dashboard of your Azure account (You will be taken to a page first where you will find Get started with your Azure subscription button. Use it to go to your dashboard. You will also find links for tutorials and get support on this page). It may take some time for it to open for the first time since Azure will set up your environment.

6. If you look at the notifications, you will see the 200$ (Rs. 13,300) credit that you will have for 30 days.
7. Now that you have created your Azure account, you can start using it to create your applications and deploy them.
Refer the topic Creating an IoT Hub in the Getting Started section of Microsoft Azure to learn how to create an IoT Hub for your applications.
