Introduction

Particle Photon Board with USB Cable
Particle Photon is tiny development board which is very much useful to build connected application.
Connect Particle Photon
To connect photon to the Web, we need to power it using USB cable.
- Plug the USB cable into the power source.

USB cable connection of Photon board
- As soon as it is plugged in, the RGB LED on your device should begin blinking blue. (If your device is not blinking blue, hold down the SETUP button)
Note: If your device is not blinking at all, or if the LED is burning a dull orange color, it may not be getting enough power. Try changing your power source or USB cable.
- Now open the link given below to connect Photon to the local Wi-Fi network.
- After opening above link, a sign-up page will appear on display. First, you need to create your account.
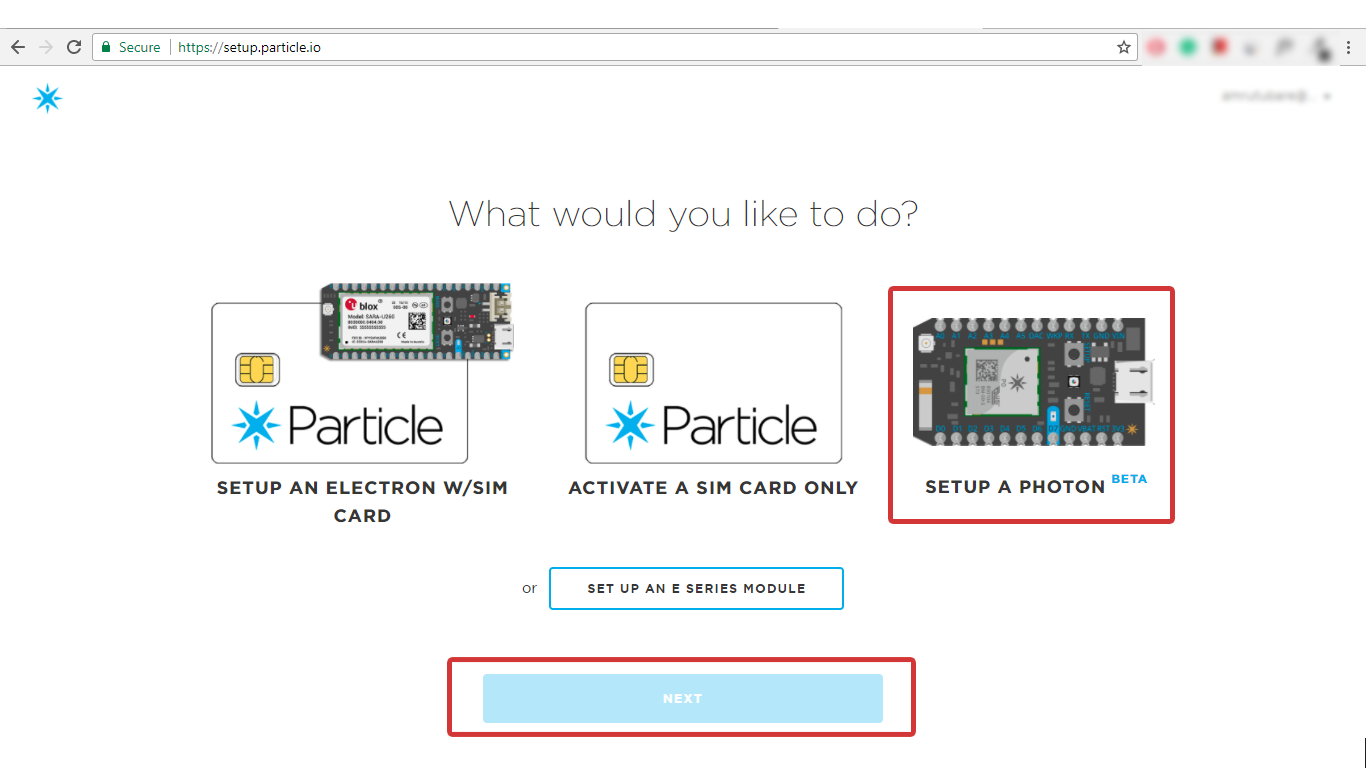
- Then, select Setup a Photon option for Particle Photon Board and then click on NEXT as shown below,
- After clicking on NEXT, you should be presented with a file (photonsetup.html) is shown below.
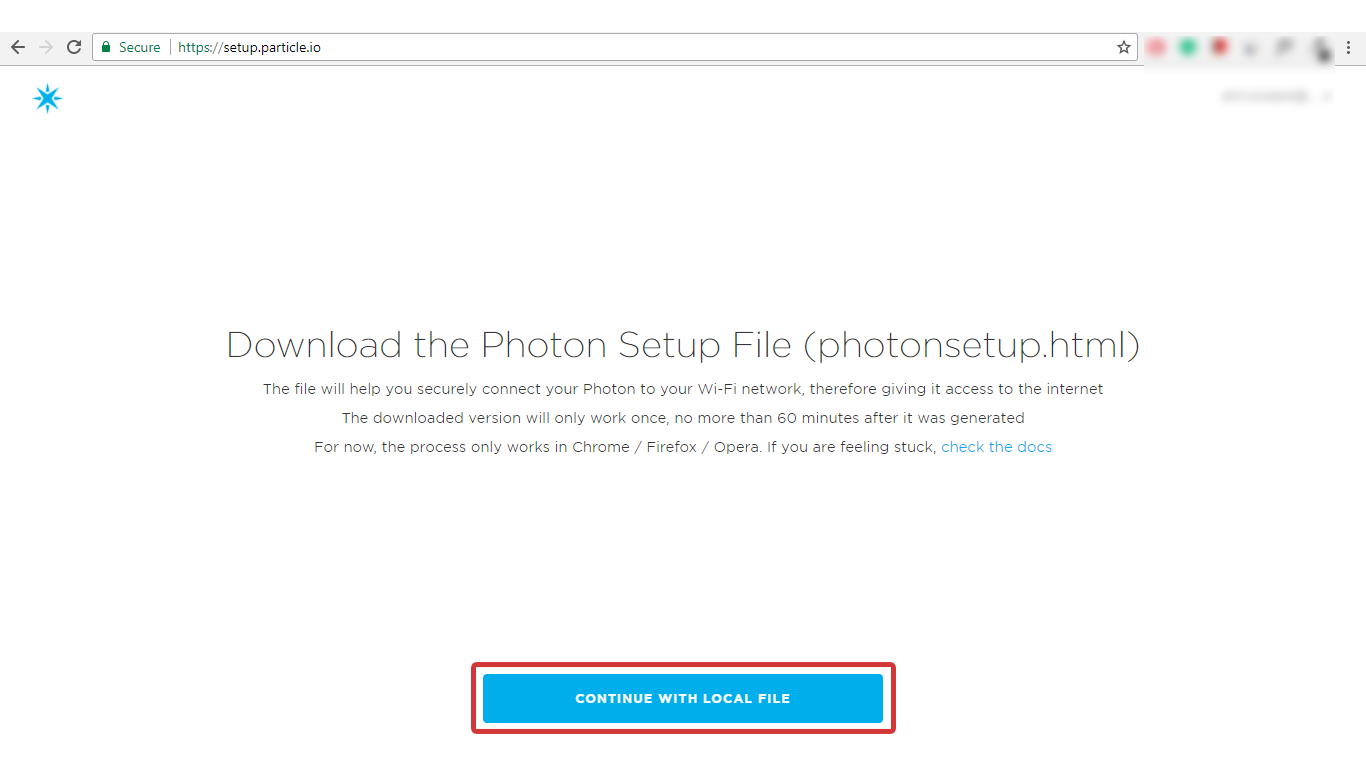
- Click on Continue with Local File as shown in above image which will download photonsetup.html file
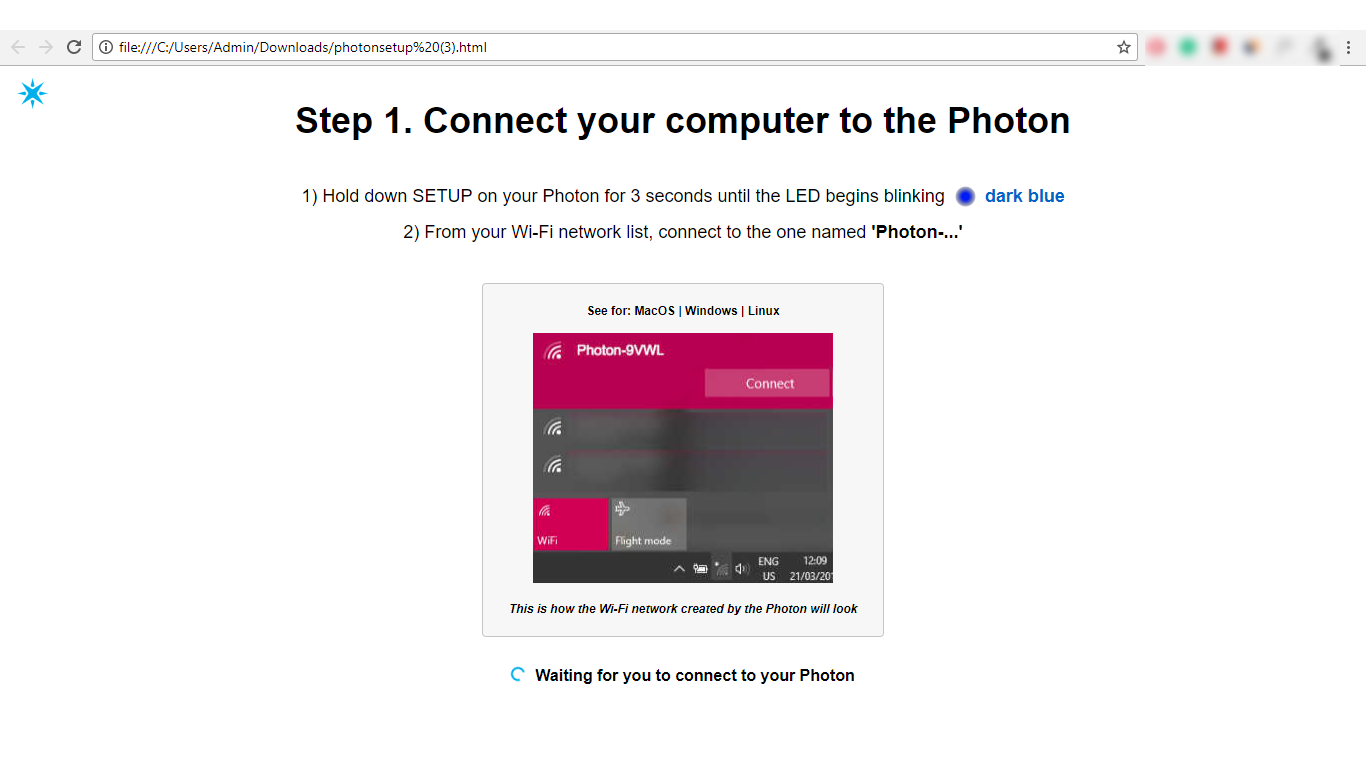
- Open the file (photonsetup.html) and Connect your PC to the Photon, by connecting to the network named PHOTON-...
- Configure your Wi-Fi credentials
- Rename your device. You will also see a confirmation if the device was claimed or not.
For more detail about connecting Photon to the Internet, you can visit getting started with Photon.
Photon’s On-board LED Blinking
Now, Photon is connected to Wi-Fi with having active Internet. So, let’s just blink a Photon’s on-board LED using Web IDE.
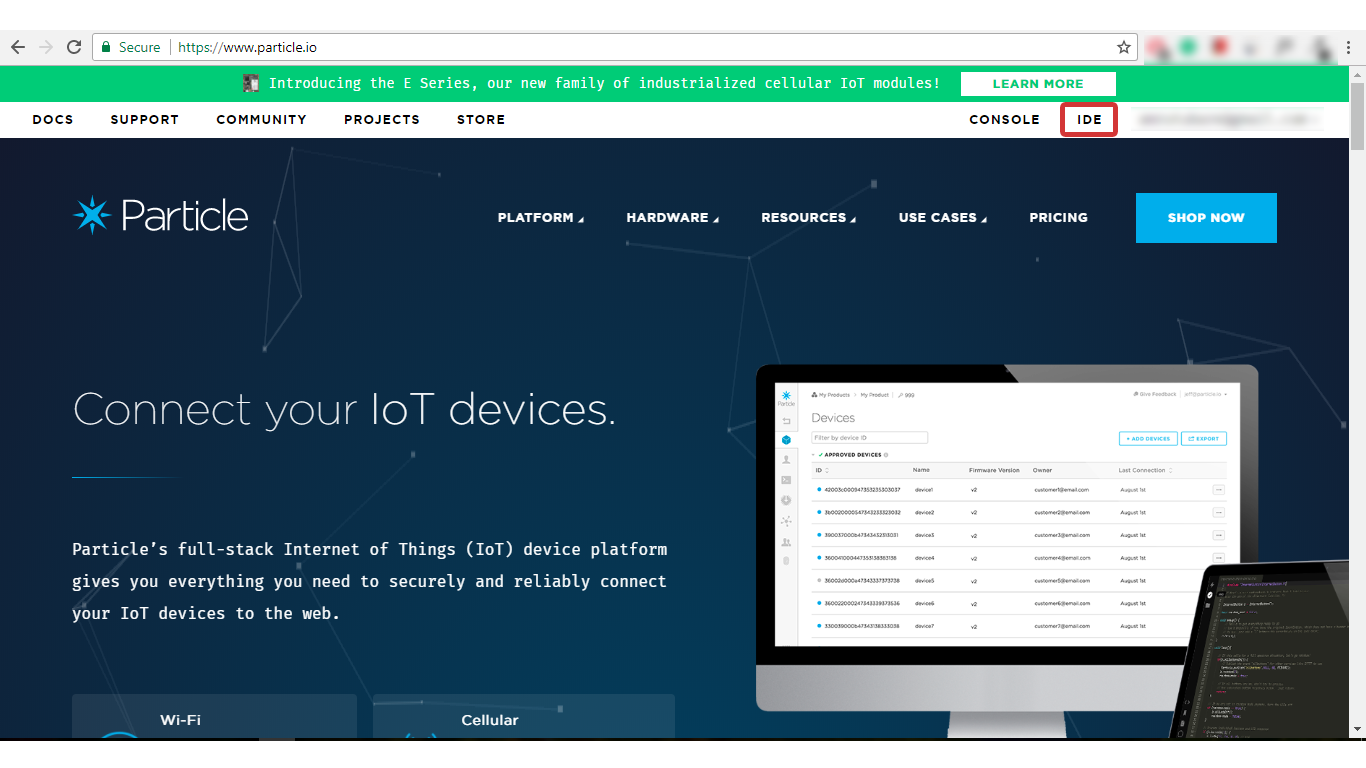
- Open the Particle’s home and click on IDE.
Click on code and provide a title to your code. 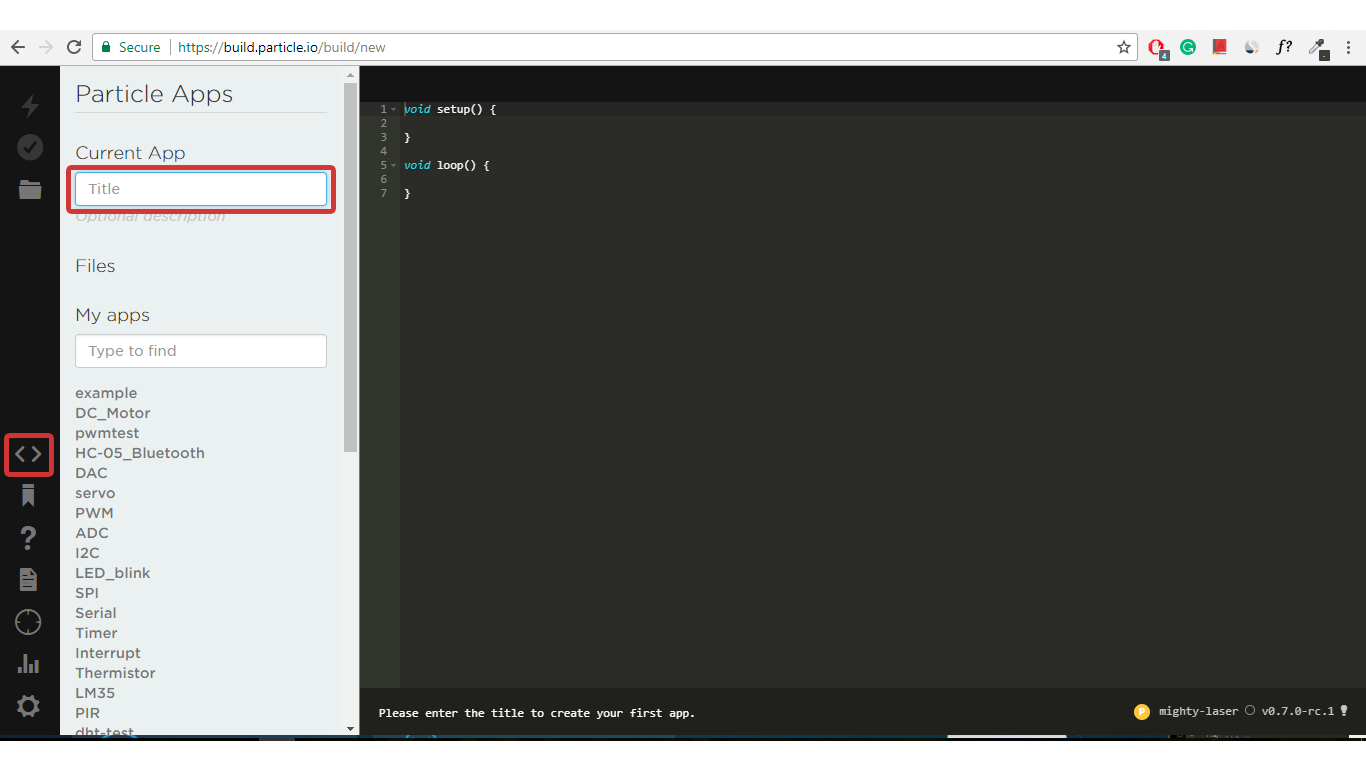
- Now, write a code for LED blinking and save it.
/*
    LED Blinking using Particle Photon
    http://www.electronicwings.com
*/

int led = D7;           //led connected to D7

void setup() {

    pinMode (led, OUTPUT);  //define Pin as output

}

void loop() {
    digitalWrite(led, HIGH);    //set Pin to HIGH
    delay(100);
    digitalWrite(led, LOW);     //set Pin to LOW
    delay(1000);
}
- Finally, compile the above code and flash it on to the Photon Board.

Components Used |
||
|---|---|---|
| Particle Photon PHNTRAYH |
X 1 | |